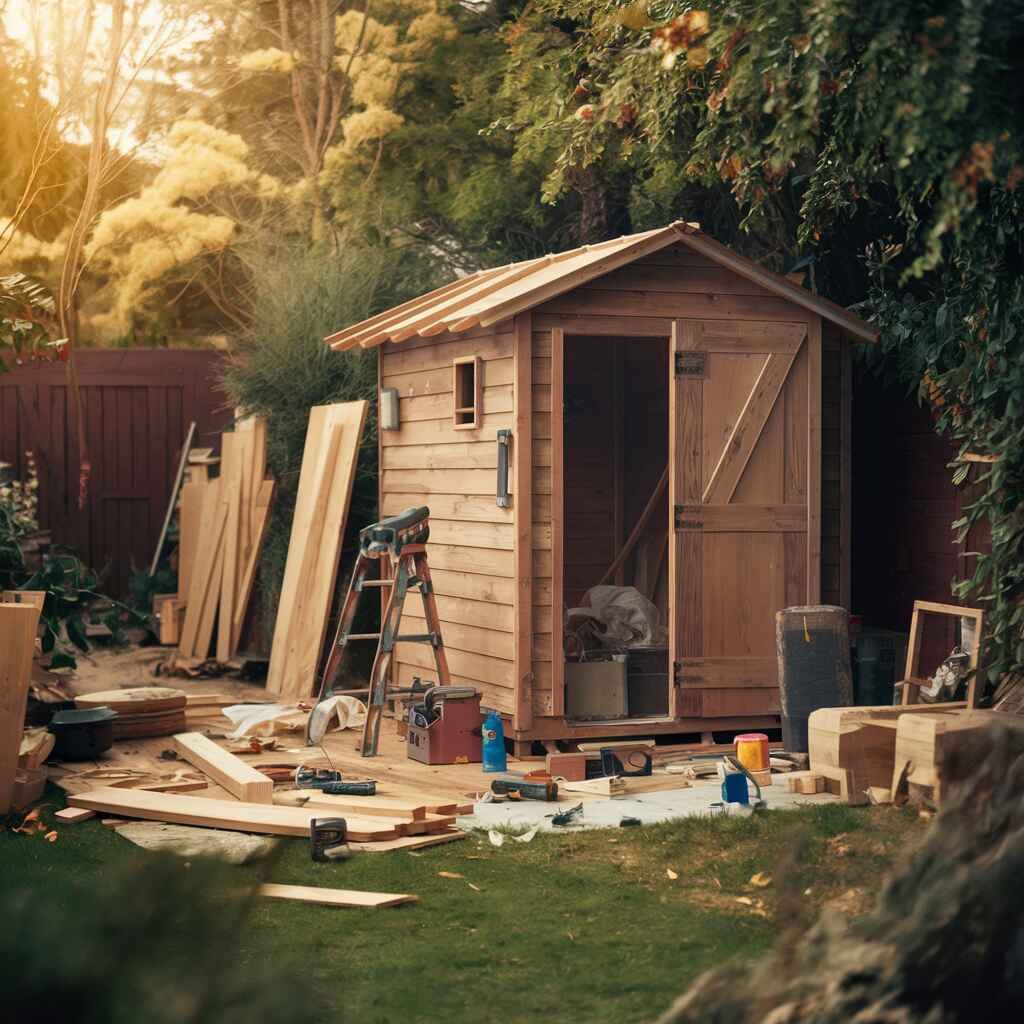
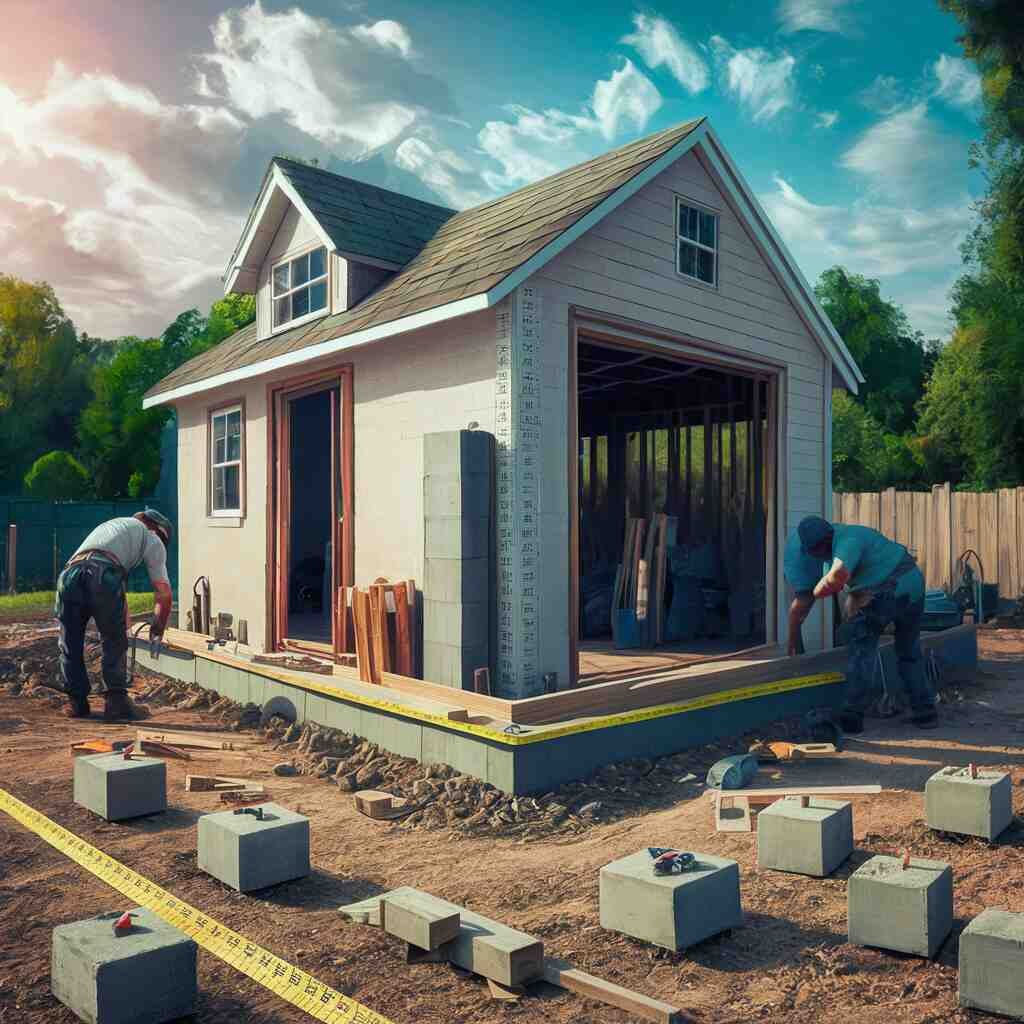
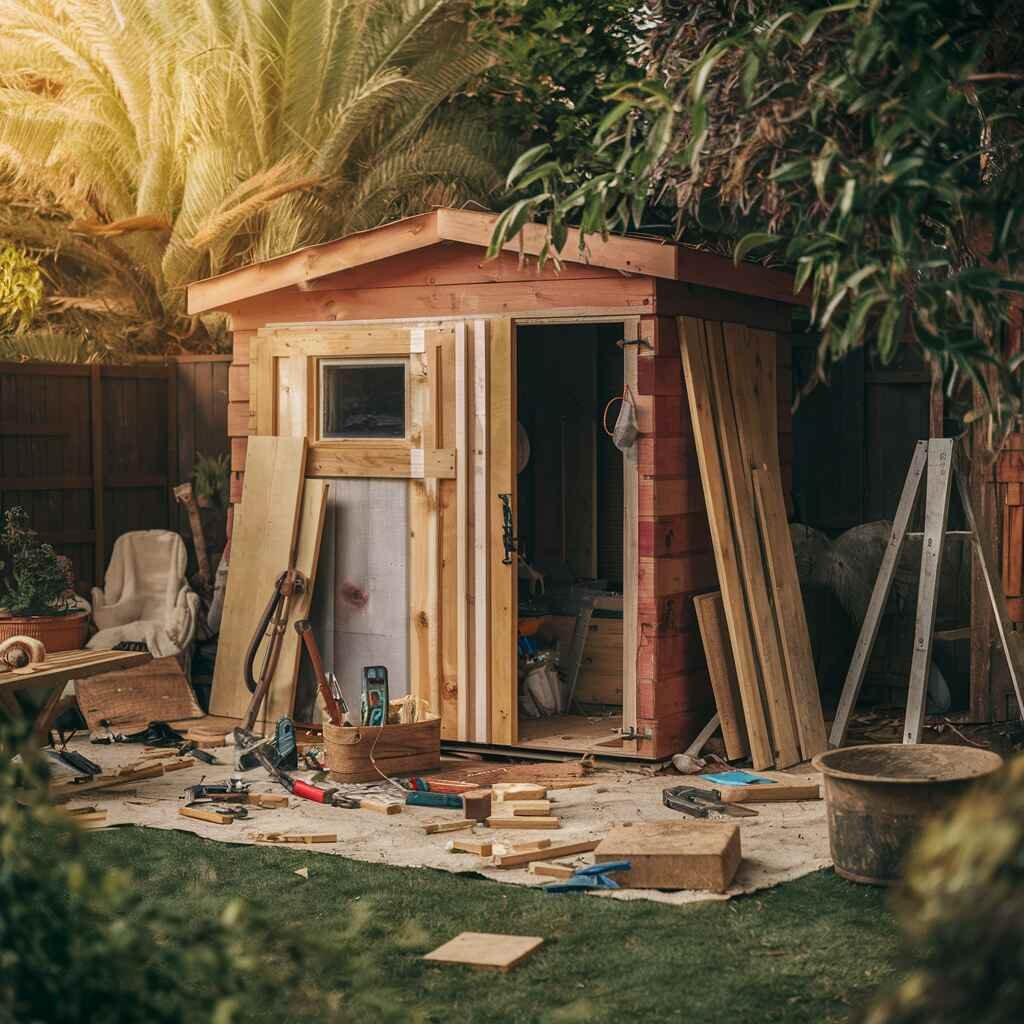
Many homeowners need more storage. Instead of spending a lot on custom units, they build their sheds. DIY sheds are cheap, easy to build, and add real space fast
What to Know Before You Start DIY Shed Plan
You’re ready to build your dream garden shed. Start by picking a shed plan that fits your space—gable roof or lean-to both work. Look for a plan that lists materials, gives step-by-step directions, and shares useful tips. With the right plan, you can build a strong, low-cost shed on your own.
Before you start sawing and hammering away, gather your power tools, mark your chalk line, and get ready to build this shed in your yard. The plan should show you how to add floor joists every 6 ft, cut and install the drip edge, fascia boards, and 2×4 end walls. Don’t forget to build the door so your riding lawn mower can get in and out easily. And yes, securing everything with enough screws to secure is a must—no one wants their shed to fly off at the first sign of a strong wind.
If you’re wondering how to make sure your shed using the 1×2’s stands firm, your plan should cover how to build a small but sturdy frame on top of the roof. Installing the gable end correctly gives your shed that classic look and ensures it blends well in your garden. Also, always check with your local building department before you start—the last thing you need is to dismantle your masterpiece because you overlooked a regulation or two.
Understanding different styles of shed plans

Before diving into the process of building, it’s crucial to grasp the various style shed options available. A gabled roof design is a popular choice, consisting of two sloping roof sections that come together at a ridge. Alternatively, a lean-to shed features a single sloping roof that leans against an existing structure.
How to find free shed plans that suit your needs
Numerous websites offer free shed plans tailored to different sizes and styles. Conduct thorough research to find plans available that align with your storage requirements and desired aesthetic.
Assessing the size and storage capacity: What do you need?
Accurately gauge how much storage space you require by considering the outdoor tools, lawn mower, and other items you plan to store. A 7 x 8 ft or 10×12 shed may suffice for basic needs, while larger projects might necessitate a larger shed.
Strong Foundation is The First Step in DIY Shed Construction
Kicking off your DIY storage shed project? Sweet! Remember, laying a solid foundation is key. Like, you wouldn’t slap a masterpiece on a wobbly table, right? So, grab those 1×2s and let’s make sure your shed stands strong – it’s the critical first step to nail.
The right materials for a durable shed foundation
A sturdy foundation is paramount for your DIY projects. Pressure-treated lumber or concrete are excellent choice, ensuring your shed withstands the elements.
Step-by-step guide to building a foundation for your shed
- Level the ground and lay a slab or gravel base.
- Construct a floor frame using 2x4s or 2×4 treated lumber.
- Secure the bottom plate to the foundation for a solid base.
Common mistakes to avoid when building your shed foundation

Neglecting to level the ground or using untreated lumber can compromise your shed’s stability. Ensure the bottom plate is securely fastened to prevent future issues.
Framing Your Shed: A DIY Guide to Getting The Frame Right
Ready to build your storage shed? Great choice. Start with a strong frame—it’s the most important part. A weak frame can make your shed tilt or fall. Use 1×2 lumber. It’s strong enough to hold but light enough to handle easily.
Deciding between wood and metal frames: What’s best for your shed?
Wooden frames, typically constructed with 2x4s, are a cost-effective and easy-to-build option for smaller sheds. Metal frames, while more expensive, offer superior durability for larger outdoor storage shed projects.
How to frame the walls efficiently
- Erect corner studs to form the corners of your shed.
- Connect the top plate and bottom plate with studs spaced 16″ or 24″ apart.
- Secure vertical studs with nails or screws.
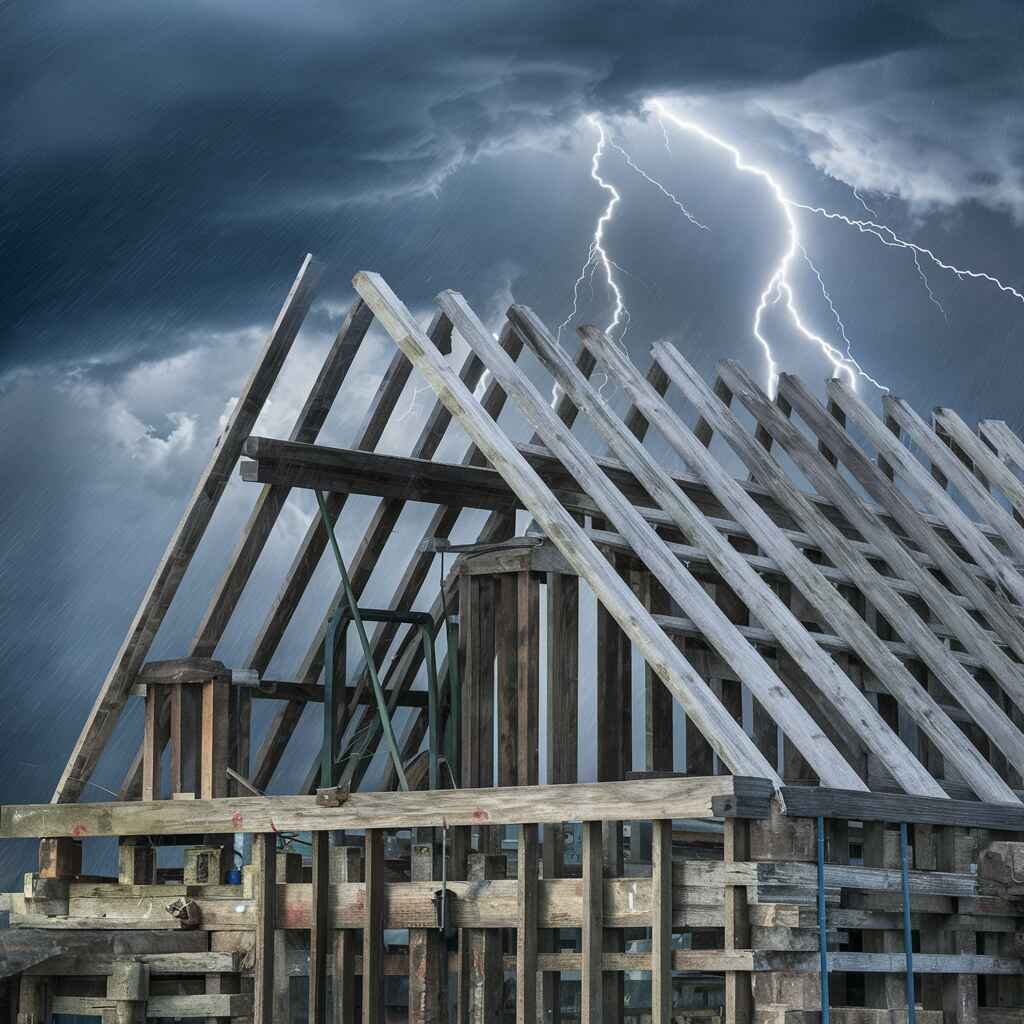
Building a roof frame that withstands the elements

Construct a sturdy rafter frame, ensuring proper spacing and fastening with hurricane ties. Consider incorporating collar ties for extra stability in areas prone to high winds.
Adding Walls and Roof: Choosing Materials and Installation Tips
Alright, so when you’re jazzing up your DIY storage shed, picking the right walls and roof materials is a big deal. You wanna go for something that’s not just sturdy but also kind on the wallet. Think about using treated wood or metal sheets for that solid vibe. And hey, when you’re installing, don’t skimp on those how-to videos. A bit of prep goes a long way in avoiding a wonky shed situation.
Selecting siding for your shed: Plywood vs. other materials
Plywood is a popular and inexpensive choice for shed siding, though vinyl, metal, or cedar can also be used. Consider factors like durability, maintenance, and aesthetic appeal when making your selection.
DIY tips for installing roof shingles on your shed
- Cover the roof with galvanized drip edge and underlayment.
- Begin shingling at the bottom edges of the roof, working your way up.
- Ensure proper overlap and secure shingles with roofing nails or screws.
Ensuring your shed is waterproof: Tips for sheathing
Apply a waterproof membrane or house wrap before installing siding to protect against moisture. Caulk and seal all seams and joints for an airtight and weatherproof shed.
Doors and Windows: Final Touches to Your DIY Shed
Alright, so you’ve nailed the basics of your DIY storage shed, and it’s looking pretty solid. But now, it’s time for the finishing touches – doors and windows. These aren’t just functional; they’re the cherry on top that’ll make your shed look like a million bucks.
Add doors and windows to improve your shed’s look and function. They protect your tools from rain, wind, and sun. Now finish strong—seal your shed, install the door, and check that everything fits tight.
Building and hanging your shed door: A step-by-step guide
- Construct a door frame using 2x4s or 2 x 4 lumber.
- Install the door trim and any desired window trim.
- Hang the door using sturdy door hinges and secure it with a lock.
Choosing and installing windows and trim pieces for functionality and style
Incorporate windows for natural light and ventilation, selecting styles that complement your shed’s design. Properly seal and caulk window trim to prevent air and water leaks.
How to secure your shed’s door: Selecting the right hinges and locks
Opt for heavy-duty door hinges and a high-quality padlock or deadbolt lock to protect your outdoor tools and valuables stored within.
Accessorizing Your Shed: Maximizing Storage and Efficiency
Creating internal storage solutions for your garden tools and mower
Install shelves, pegboards, or tool racks to keep your outdoor tools and lawn mower organized. Consider incorporating a workbench for added convenience.
Outdoor storage tips: Making the most of your shed’s exterior
Utilize the shed’s exterior walls for hanging tools, securing a bike rack, or adding exterior trim for aesthetic appeal.
DIY shed kits vs. building from scratch: What’s best for your budget?
For those seeking convenience, pre-built or DIY shed kits can be a great option, though building one from scratch may be more cost-effective for experienced DIYers.
FAQs
Is it cheaper to build your shed?
Generally, building a shed from scratch is cheaper than purchasing a pre-built shed, especially for smaller structures. However, costs can vary based on the materials used and the shed’s size.
How much does it cost to build a 12×12 shed yourself?
The cost of building a 12×12 shed yourself typically ranges from $1,000 to $3,000, depending on the quality of building materials and any special features.
How to build a shed cheaply?
To build a cheap shed, consider using inexpensive materials like plywood siding and asphalt shingles. Repurpose or obtain used lumber when possible, and opt for a smaller size to minimize material costs.
Are DIY sheds worth it?
DIY sheds are often worth it for those with basic carpentry skills, as they offer a cost-effective storage solution. However, larger or more complex building projects may require professional assistance, potentially offsetting the cost savings.


