


I know how a poorly laid-out summer kitchen can drain the joy right out of a backyard cookout. You shuffle between stations, bump into guests, and never have enough counter space exactly where you need it. I focus on layout first, because even the best appliances fail if the flow is broken.
This guide shares 12 summer kitchen remodeling ideas that genuinely improve functionality — all drawn from real projects and mistakes I’ve seen (and fixed). By the end, you’ll know exactly how to rearrange your outdoor space so cooking feels fluid, not frantic.
1. Establish a Clear Work Triangle
I always measure the distance between the grill, sink, and refrigerator first. A disconnected triangle forces constant back-and-forth, wasting energy and time.
I use a simple 25-foot tape and mark positions with spray chalk before any concrete goes in. Keeping each leg between 4 and 9 feet makes moving between stations feel effortless.
I once helped rebuild an L‑shaped outdoor kitchen where the sink sat 15 feet from the grill. Shortening that gap to 7 feet turned a chaotic prep area into a calm, one‑person workspace.
I suggest sketching your triangle on graph paper and then living with temporary folding tables for a weekend. Walk the steps you’d take while cooking to confirm the flow feels natural.
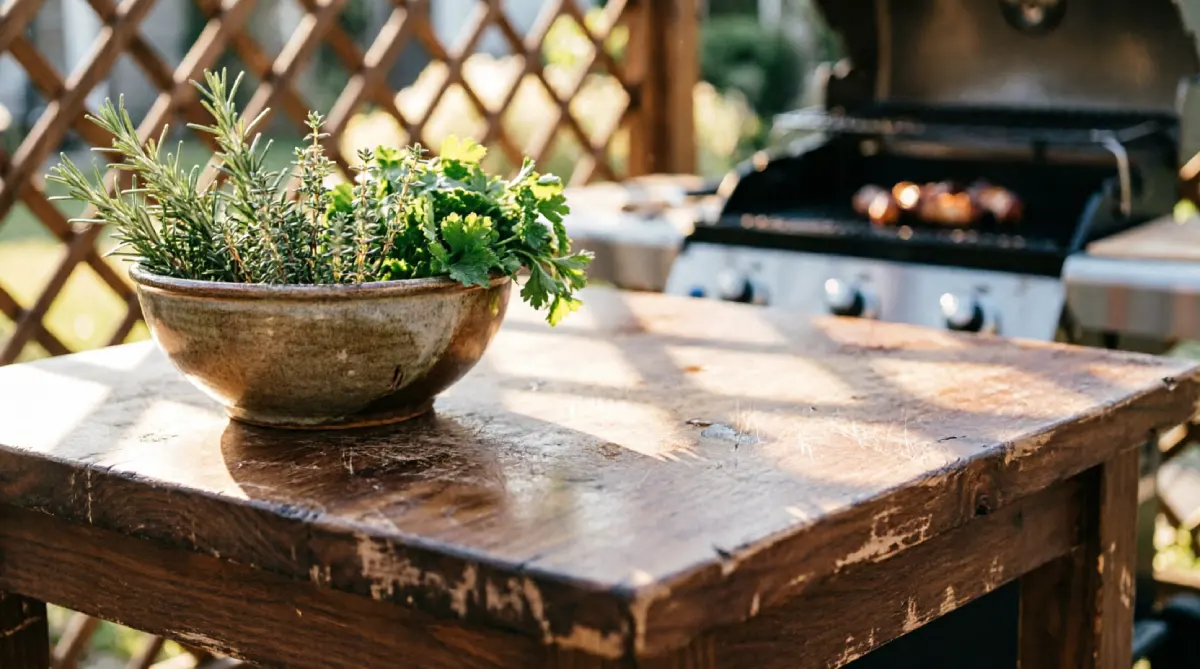
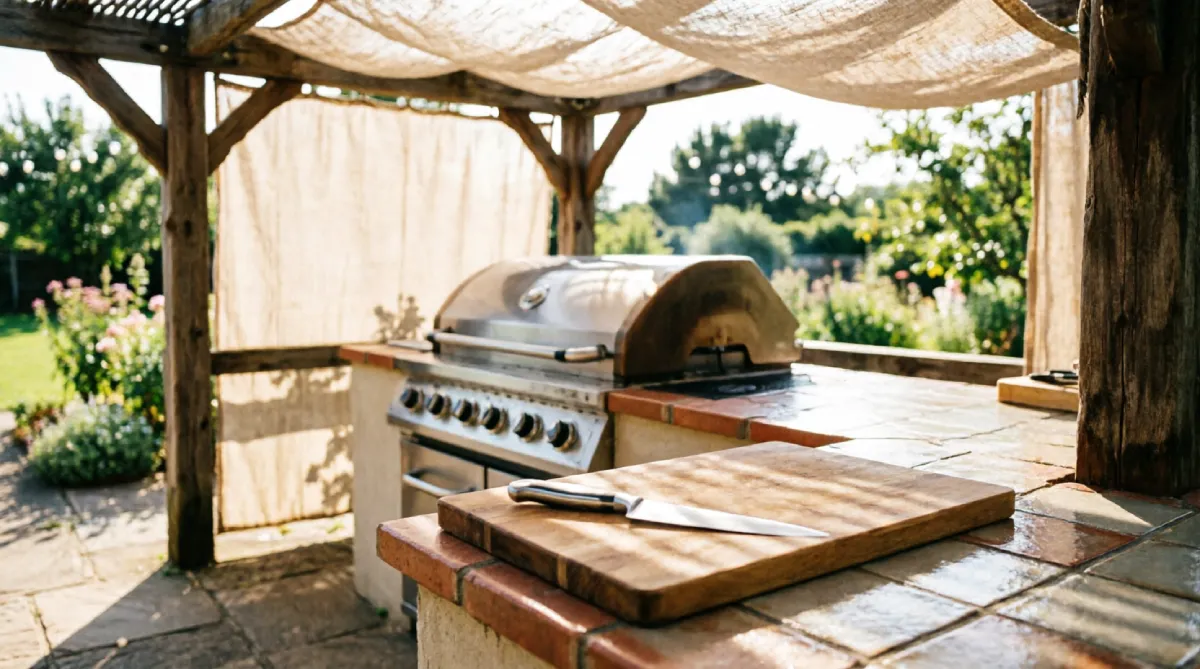
2. Add a Dedicated Prep Zone with a Butcher Block
I always designate a separate counter space just for chopping and assembling, away from the hot grill. Without it, raw ingredients end up balanced on coolers or bench tops cluttered with tools.
I use a freestanding butcher block island that sits perpendicular to the main counter run. It creates a natural landing pad that absorbs cuts and spills without disrupting the cooking line.
I once witnessed a cook place a cutting board on the same surface as a hot cast‑iron pan. The board warped, and grease splattered onto the greens. A dedicated prep surface eliminates that chaos.
I suggest installing a thick edge‑grain wood top at least 24 inches deep beside the sink. Treat it with food‑safe oil, and you’ll never search for a stable chopping spot again.
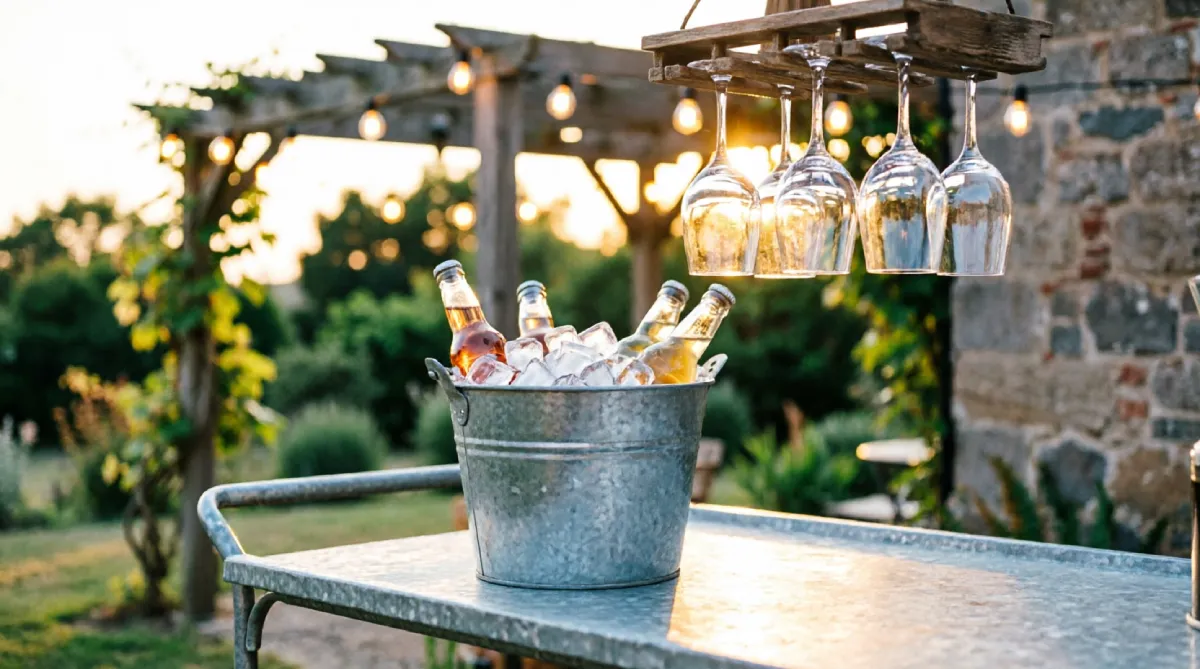
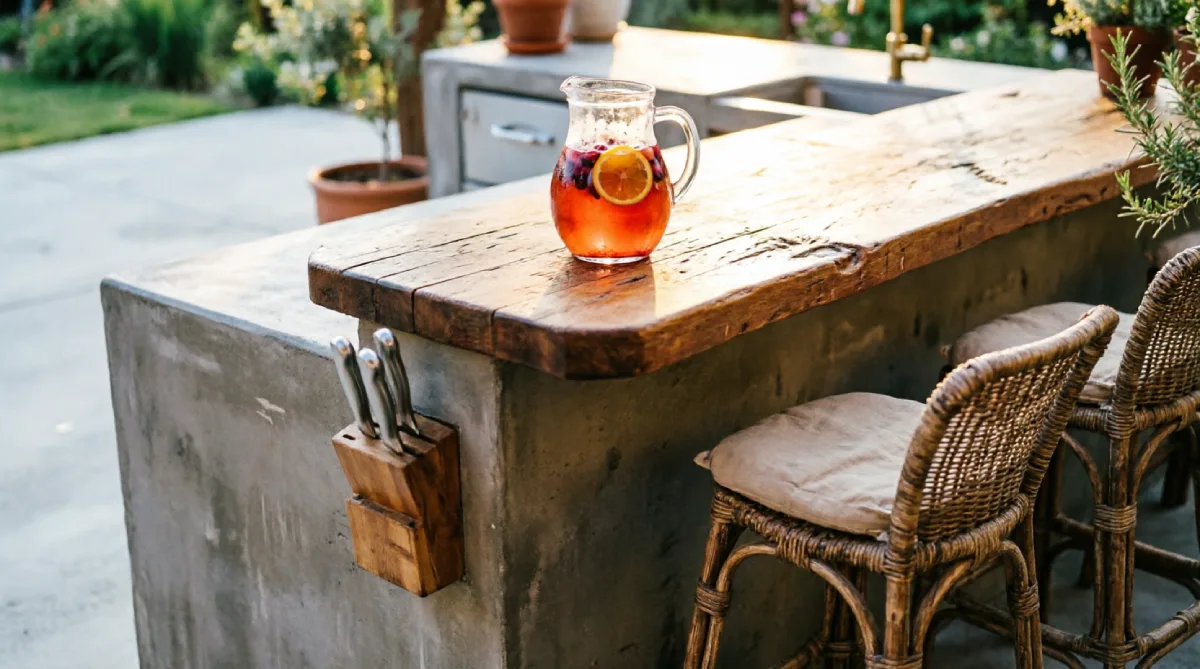
3. Create a Separate Beverage and Bar Area
I always plan a beverage station well away from the main cooking zone. Drinks draw guests, and guests will block your path if the cooler or bar cart is next to the grill.
I use a small bar‑height counter tucked around a corner or at the far end of the layout. Stock it with a mini fridge, an ice bucket, and glasses — everything you need without entering the work triangle.
I once attended a barbecue where the cooler sat between the sink and the grill. Every time someone grabbed a beer, the cook had to pause and step back. Tempers flared as the meal dragged on.
I suggest locating your drink hub at least six feet from the hot zone, preferably near seating. Guests serve themselves comfortably, and the cooking corridor stays obstruction‑free.
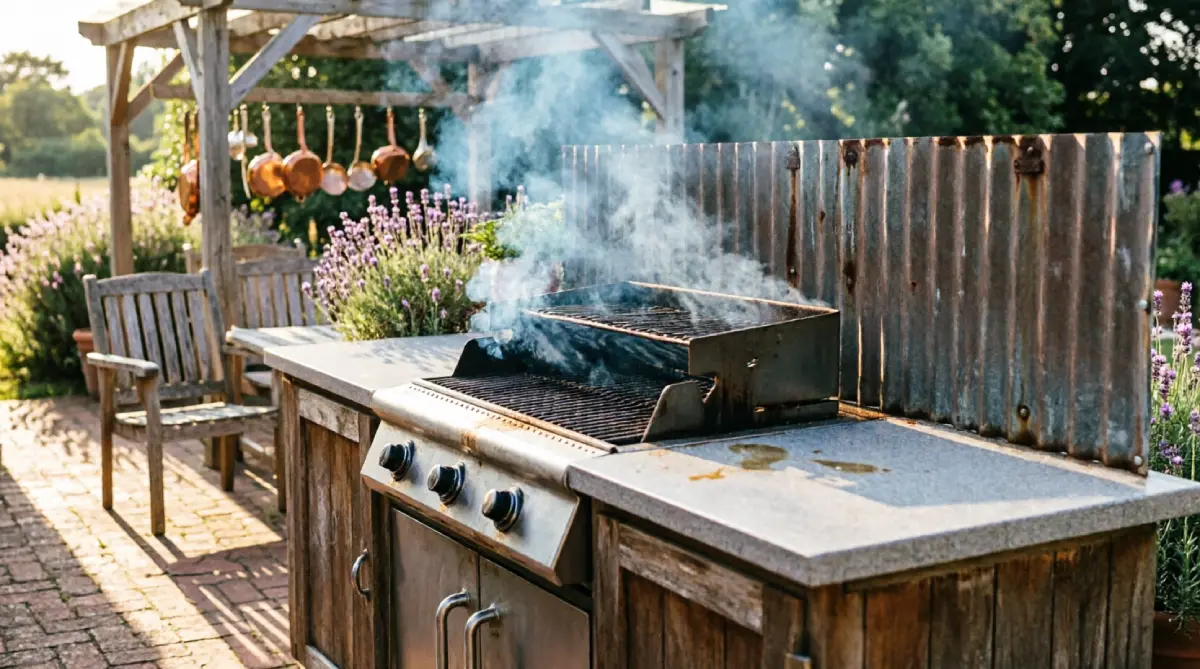
4. Position the Grill Downwind with Proper Clearance
I always face the grill so the prevailing breeze carries smoke and heat away from the seating and main prep area. If you get this wrong, a beautiful afternoon turns into a coughing session.
I use a simple ribbon test — I tie a light piece of cloth to a stick and watch the wind direction at different times of day before locking in the grill location.
I once saw a fixed barbecue wall placed right where the afternoon breeze pushed smoke directly onto the dining table. We ended up adding a partial glass windscreen, but the layout should have been flipped.
I suggest leaving at least three feet of open counter space on both sides of the grill if possible. That landing area lets you transfer hot tools and platters safely, improving both safety and function.
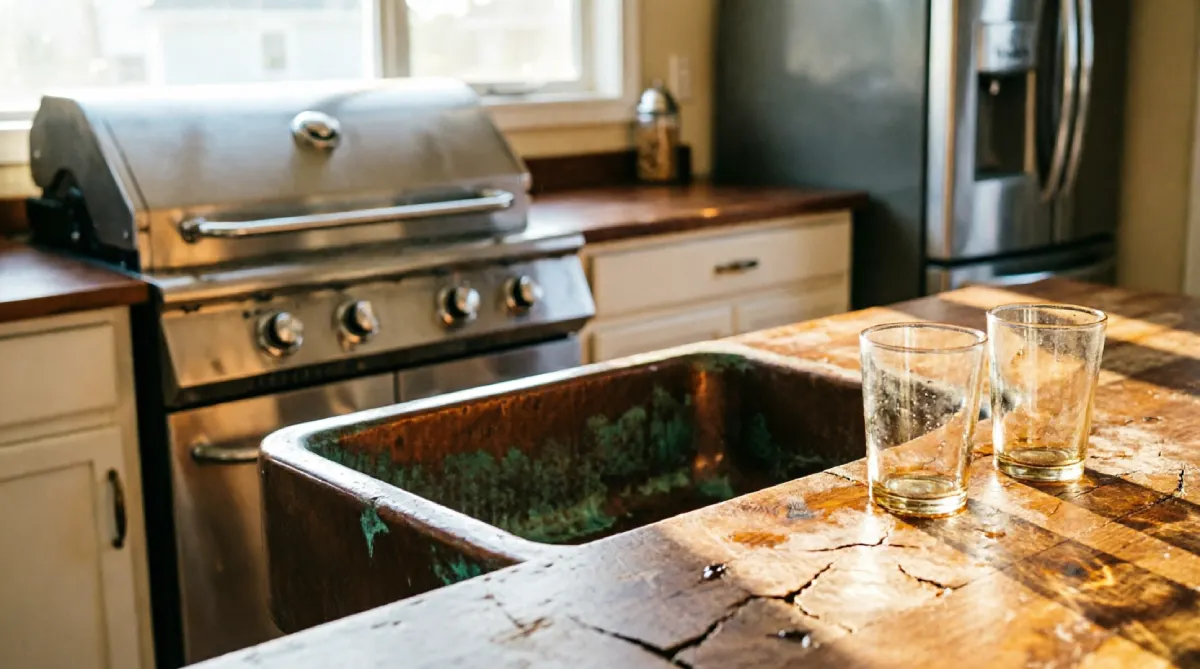
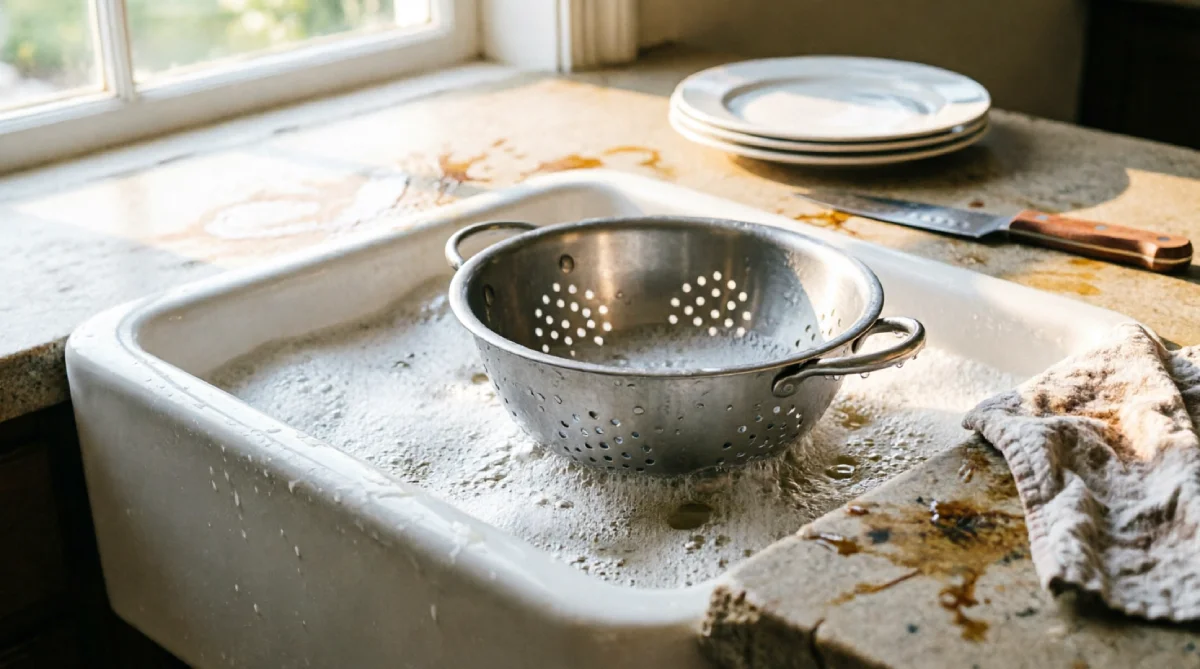
5. Install a Deep, Wide Sink at the Center of the Action
I always make the sink the focal point between prep and cooking. A shallow or off‑to‑the‑side basin makes washing large platters and hands a wrestling match.
I use an 18‑inch deep, single‑bowl stainless steel sink with a high‑arc pull‑down faucet. It handles stockpots and bushels of garden vegetables, and the pull‑down hose reaches every corner.
I once retrofitted a tiny bar sink into a fully featured outdoor kitchen. The owner couldn’t even fit a colander under the faucet. Swapping in a deep farmhouse style changed the entire prep rhythm.
I suggest placing the sink no more than one step from the grill and one step from the prep surface. That central placement ties the whole layout together and drastically cuts cleanup time.
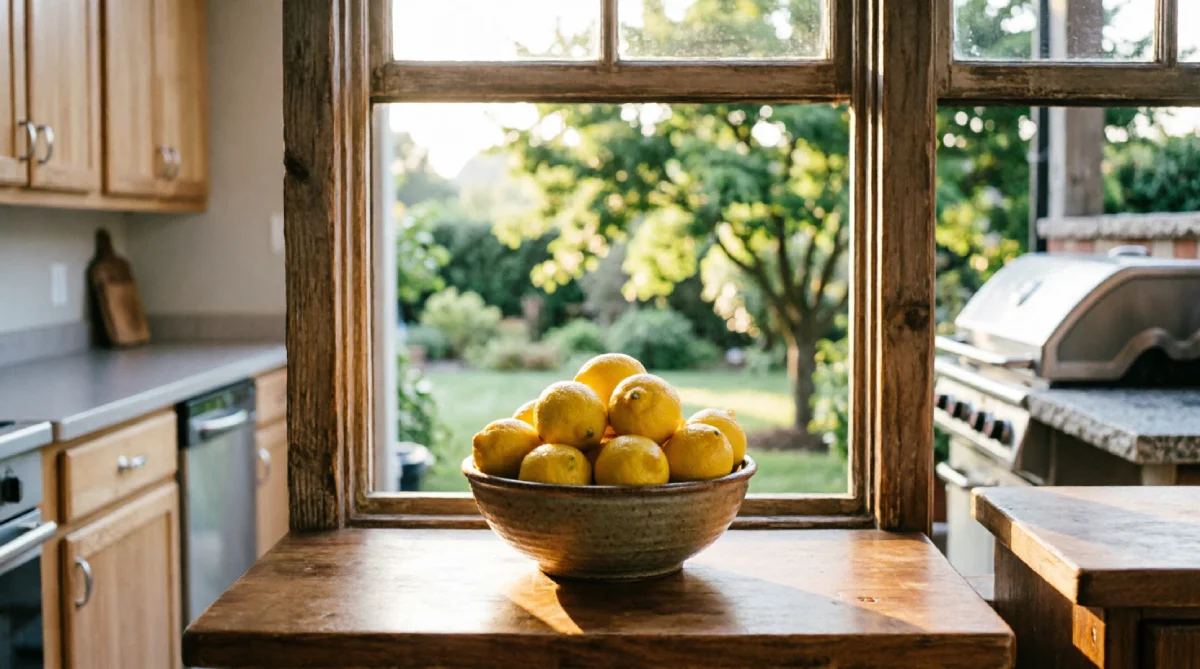
6. Use a Pass‑Through Window to the Indoor Kitchen
I always look for opportunities to connect the indoor and outdoor kitchens with a large pass‑through window. It cuts the number of trips through the back door by half.
I use a counter‑height opening with a durable sill that doubles as a serving shelf. During parties, I set salads and condiments on the indoor side, and guests grab plates from outside — zero traffic through the cooking zone.
I once worked on a remodel where a simple window replacement turned a disconnected galley kitchen into an airy indoor‑outdoor hub. The family suddenly used their summer kitchen ten times more.
I suggest framing the opening at the same height as your outdoor counter. That way, platters and cutting boards slide straight across, and conversation flows between inside and out.
7. Build a Multi‑Level Island for Prep, Serving, and Dining
I always design the outdoor island with two heights when space allows. The lower side handles messy prep; the raised side acts like a bar that shields the cooking mess from guests.
I use a 36‑inch‑high prep surface on the work side and a 42‑inch‑high eating ledge on the outer edge. This dual‑level approach hides dirty pans and gives diners a comfortable place to perch without blocking the chef.
I once flipped an existing single‑height island by bolting on a higher reclaimed‑wood bar top. Immediately, guests stopped leaning over the cutting board, and the kitchen felt twice as spacious.
I suggest making the overhang at least 12 inches deep for knee room. That small geometric tweak transforms an island from a workhorse into a social hub.
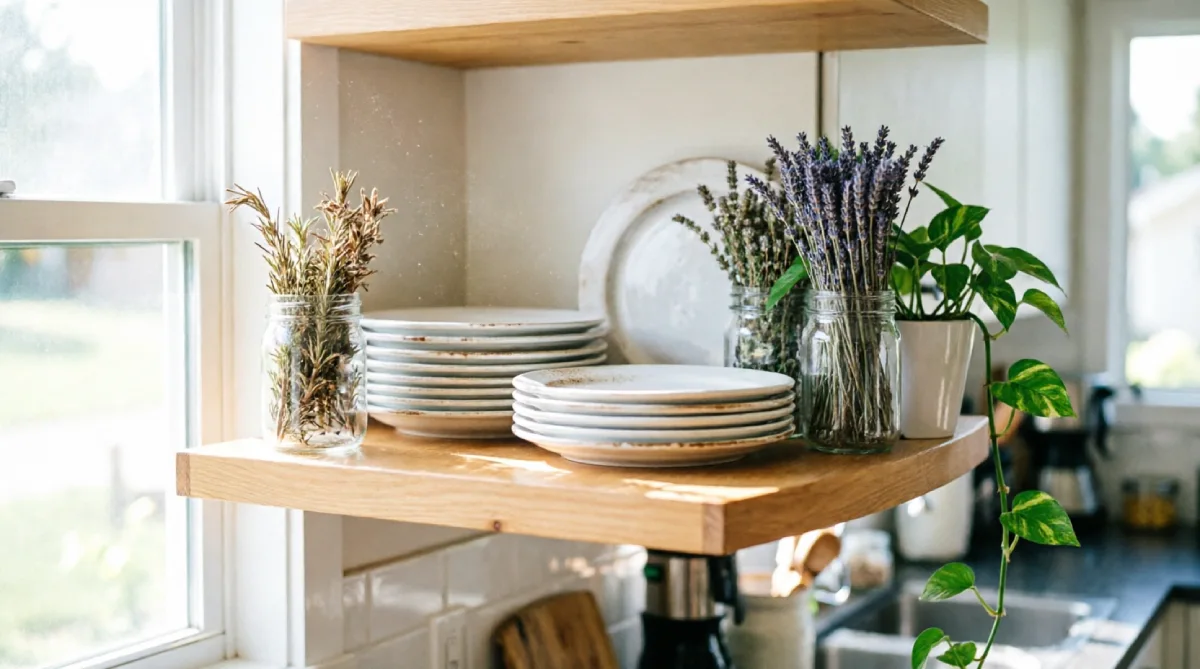
8. Design Open Shelving Instead of Closed Cabinets
I always prefer open shelving in summer kitchens. Closed doors trap moisture, collect spider webs, and hide things until you forget they exist.
I use marine‑grade plywood shelves with a clear coat, mounted above the counters on heavy‑duty brackets. Plates, spices, and grilling tools are instantly visible, and the open design makes the outdoor space feel larger.
I once replaced a set of warped cabinet doors with simple open shelves on a client’s back porch. The kitchen suddenly looked curated instead of cluttered, and they stopped rummaging through dark cupboards mid‑cook.
I suggest limiting shelf depth to 10 inches so items don’t get lost. Keep the most‑used pieces at arm height and arrange them in neat groups — function and style in one move.
9. Plan for Shade Over Key Work Areas
I always treat shade as a structural element of the layout, not an afterthought. Standing over a hot grill under the midday sun kills stamina and makes you cut corners.
I use a simple slatted pergola or a retractable awning over the main cooking and prep zone. The dappled light drops the perceived temperature by at least ten degrees and protects surfaces from UV fading.
I once skipped this on an early build and watched the cook’s face turn tomato red by 1 p.m. We added a canvas shade sail later, and the difference in comfort was immediate — people actually wanted to help prep.
I suggest orienting your shade structure to block sun between 11 a.m. and 3 p.m., using seasonal sun‑angle charts if needed. A cooler work zone means longer, happier cooking sessions.
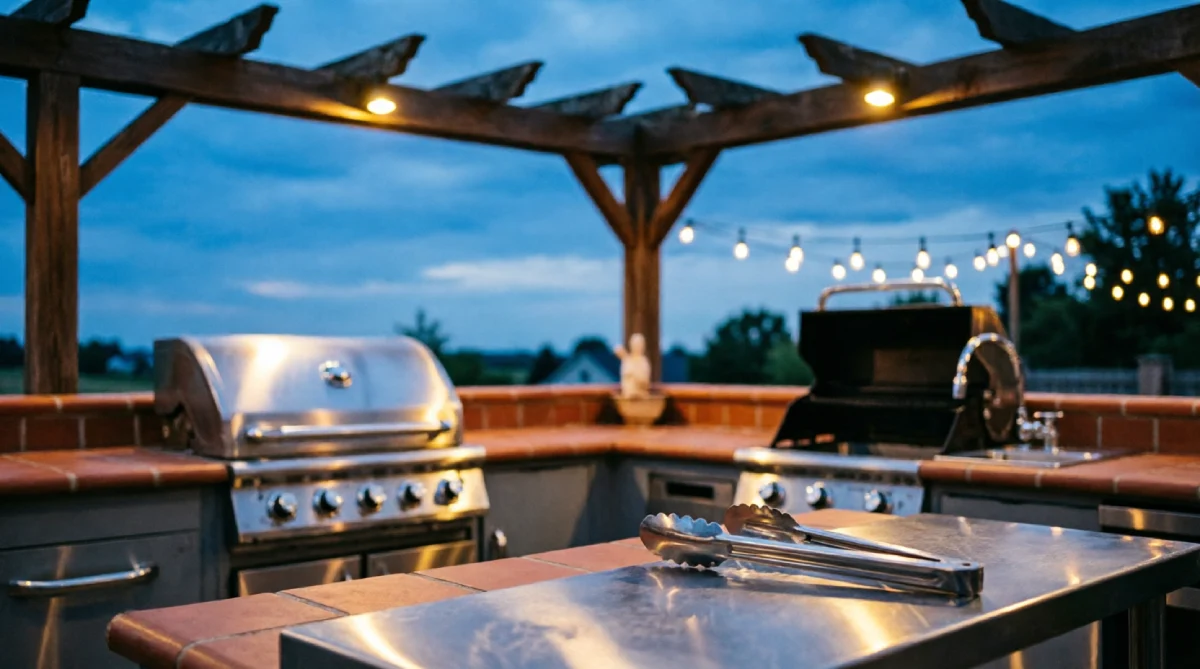
10. Zone Lighting: Task Lights Over Grill and Sink
I always place dedicated task lights directly above the grill and sink, on separate switches from the ambient string lights. Otherwise, you’re grilling in your own shadow after sunset.
I use adjustable LED gimbal heads mounted under the pergola or on a nearby wall. They put a crisp pool of light right where the spatula and tongs need to be, without blinding the rest of the yard.
I once hung only festive string bulbs over an entire L‑shaped kitchen. It looked magical, but at 8 p.m., the cook couldn’t tell a medium‑rare steak from a raw one. Adding two focused spots solved it overnight.
I suggest color temperature around 3000K for task lights — warm enough to feel inviting but clear enough to see doneness. Layer with softer ambient lights on the edges for ambiance without sacrificing function.
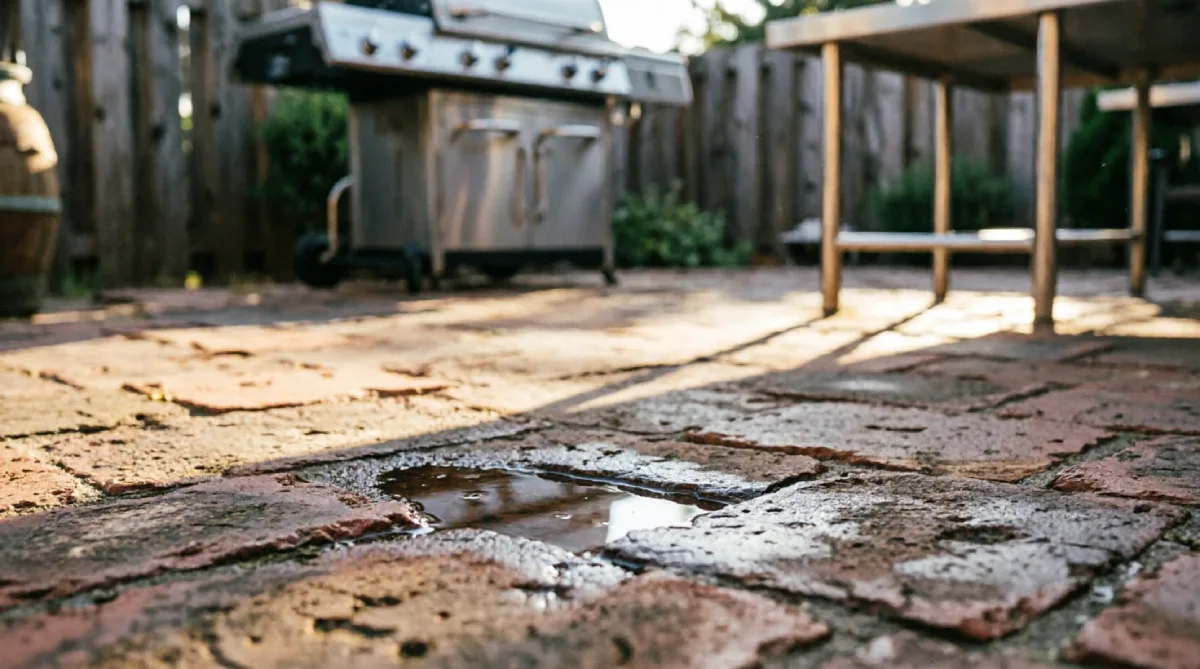
11. Keep Flooring Slip‑Resistant in Heavy‑Traffic Paths
I always choose a textured, non‑slip surface for the cooking triangle floor, even if the surrounding patio is smooth flagstone. Grease splatters and water spills turn polished stone into an ice rink.
I use honed concrete, porous brick, or unglazed quarry tile in a tight grid. These materials grip underfoot, drain quickly, and hide the inevitable barbecue sauce drips.
I once saw an entertainer slip on glazed ceramic tile right in front of their guests while carrying a platter. Nothing was seriously injured except pride, but it was a stark lesson: style never wins over traction.
I suggest extending the slip‑resistant zone at least two feet beyond the counter edge. That creates a safe buffer where you pivot, step back, and move between stations without hesitation.
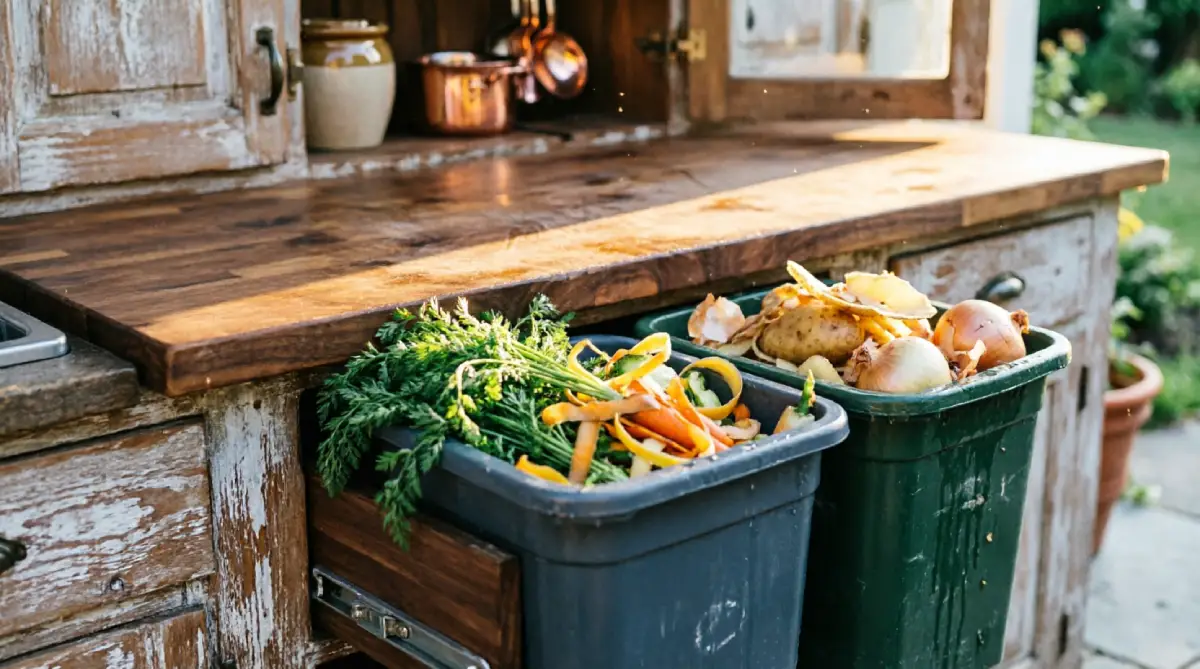
12. Incorporate a Trash and Recycling Pull‑Out Next to Prep
I always tuck a slide‑out bin cabinet directly beside the main prep counter. If the garbage can is across the walkway, peels and trimmings will end up on the floor.
I use a weather‑resistant metal frame with two bins — one for trash, one for recycling — hidden behind a cabinet door front that matches the rest of the kitchen. It keeps smells sealed and sightlines clean.
I once retrofitted an unused narrow cabinet with a simple roll‑out crate. The client said it was the single most satisfying change: no more walking drippy onion skins across the pavers.
I suggest placing the pull‑out on the side of your dominant hand. If you prep mostly with your right hand, put it to the right. That micro‑layout tweak makes cleanup feel automatic, not a chore.
Practical Tips for a Functional Summer Kitchen Layout
- Measure your real‑world movements. Walk your intended layout with a stopwatch during a mock cooking session. Shave off unnecessary steps.
- Keep walkways at least 42 inches wide. This two‑person clearance means a guest grabbing a drink doesn’t block the cook.
- Plan utility runs early. Running a gas line, water supply, and weather‑proof electrical after the countertops are in can blow the budget.
- Test with temporary furniture. Set up card tables, a portable grill, and a small basin for a few weekends. Move pieces until the choreography feels right.
- Orient for wind and sun. A perfect drawing can fail if the grill faces prevailing gusts or blinding sunset glare.
- Choose materials rated for your climate. Coastal salt air, desert dryness, and freeze‑thaw cycles all demand different surfaces.
Common Mistakes to Avoid
- Blocking the main path to the house. The back door is a thoroughfare; don’t force guests to snake through the cook’s zone.
- Placing the grill under a low overhang without ventilation. Hoods and open air save your ceiling from grease fire risks.
- Ignoring the counter landing space. A grill with zero inches of adjacent counter leaves hot tools dangling in mid‑air.
- Using indoor cabinetry outdoors. Particleboard swells within a season. Stick with stainless steel, marine‑grade ply, or powder‑coated metal.
- Forgetting storage for cushions and covers. Even the best layout fails if seat cushions get soaked every afternoon during storms.
Comparison Table
| Feature | Best Option | Why It Works |
|---|---|---|
| Counter Material | Stainless steel or dense porcelain tile | Resists heat, stains, and scrubbing; won’t warp in humidity. |
| Sink Placement | Centered between the grill and the fridge | Supports the work triangle and keeps mess contained in one zone. |
| Seating Arrangement | Bar‑height ledge on outer island face | Guests chat comfortably without entering the cooking aisle. |
| Lighting Approach | Layered: task spots + dimmable ambient | Safety on the grill, softness at the table — all from the same layout. |
FAQs
What is the best way to lay out a small summer kitchen?
Use an L‑shape or straight run with the grill, sink, and fridge placed in a tight triangle. Keep all three within a 10‑foot total perimeter, and mount storage on walls to avoid bulky cabinets that block movement.
Can I improve my summer kitchen’s functionality without a full remodel?
Absolutely. Moving a freestanding prep table, adding a task light over the grill, or relocating a beverage cooler away from the work zone can dramatically improve flow without demolition.
Is it expensive to add a sink outdoors?
Costs vary, but tapping into an existing outdoor spigot and running a drain to a dry well or existing line is moderate. For most homeowners, the time saved not running indoors makes it one of the best layout investments.
How do I protect my summer kitchen from rain and sun?
Integrate a permanent roof, pergola with a waterproof shade cloth, or a retractable awning over the main work area. Slope surfaces away from the building and choose weather‑sealed cabinets so everything lasts.
Do I really need separate lighting for prep and dining?
Yes. Ambient string lights are lovely, but only task lighting with direct beam control lets you safely check food doneness and handle knives after dark without straining your eyes.
Conclusion
A well‑functioning summer kitchen comes down to one thing: respecting the way you really cook, move, and host. Setting up an intentional work triangle, carving out a prep zone, separating drinks from the heat, and layering light and shade transforms a patio grill into a proper outdoor kitchen. I’ve seen these layout shifts turn frustrating spaces into the heart of a backyard, and they rarely demand a complete rebuild — just a thoughtful reordering. Take one or two ideas from this list and try them this weekend. You’ll feel the difference the moment you flip a burger with everything in arm’s reach and no one in your way.