

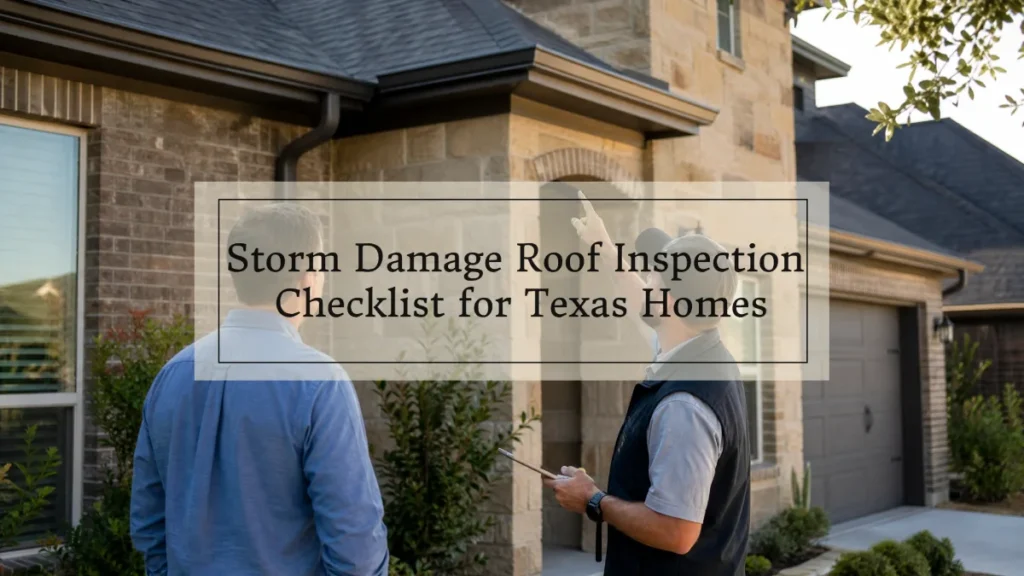
After a storm hits your Texas home, a thorough storm damage roof inspection is the first step to protecting your property and keeping your insurance claim valid. Start inside the attic if you see fresh water stains or daylight through the decking; your roof has been compromised. Texas hailstorms can punch through asphalt shingles without leaving any ground-level sign, so waiting for a visible leak before acting is one of the most expensive mistakes a homeowner can make.
Most Texas policies now carry a 1–2% wind and hail deductible calculated against your home’s insured value — not just the repair cost — which means a $400,000 home could mean $4,000–$8,000 out of pocket. The checklist below walks you through every step, from attic to ridge cap, so you know exactly what you’re dealing with before an adjuster ever shows up.
What a Storm Damage Roof Inspection Actually Covers
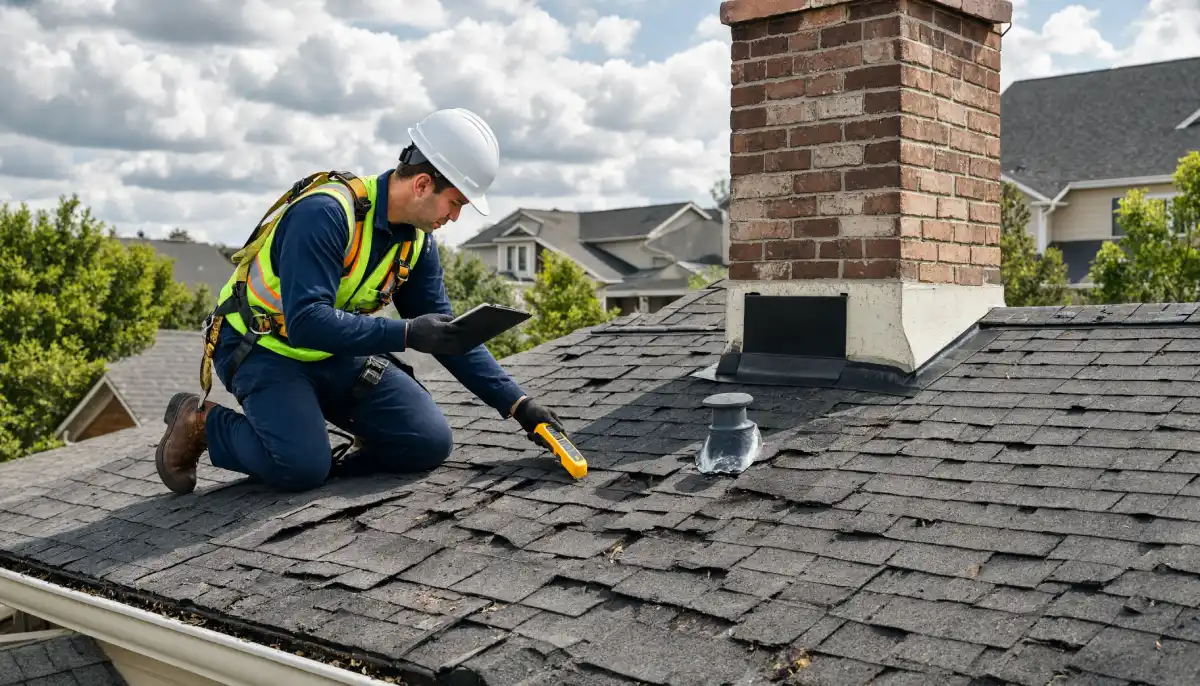
A proper storm damage roof inspection covers five zones: attic interior, roof deck, roofing surface, flashing and penetrations, and gutters/drainage. Missing even one zone leaves documented damage on the table.
Most homeowners focus only on the visible surface — shingles and gutters. That’s a partial inspection. A complete post-storm assessment covers all five zones listed above, and the order matters. Interior signs often appear before exterior damage is visible from the ground.
Here’s what’s examined in each zone:
Zone 1 — Attic Interior
- Fresh water stains on rafters or decking
- Daylight visible through the roof boards
- Wet or compressed insulation
- Mold or dark discoloration that wasn’t there before
Zone 2 — Roof Deck (Sheathing)
- Soft spots when walked on (if safe to access)
- Delaminating plywood panels
- Areas where granules have penetrated through
Zone 3 — Roofing Surface
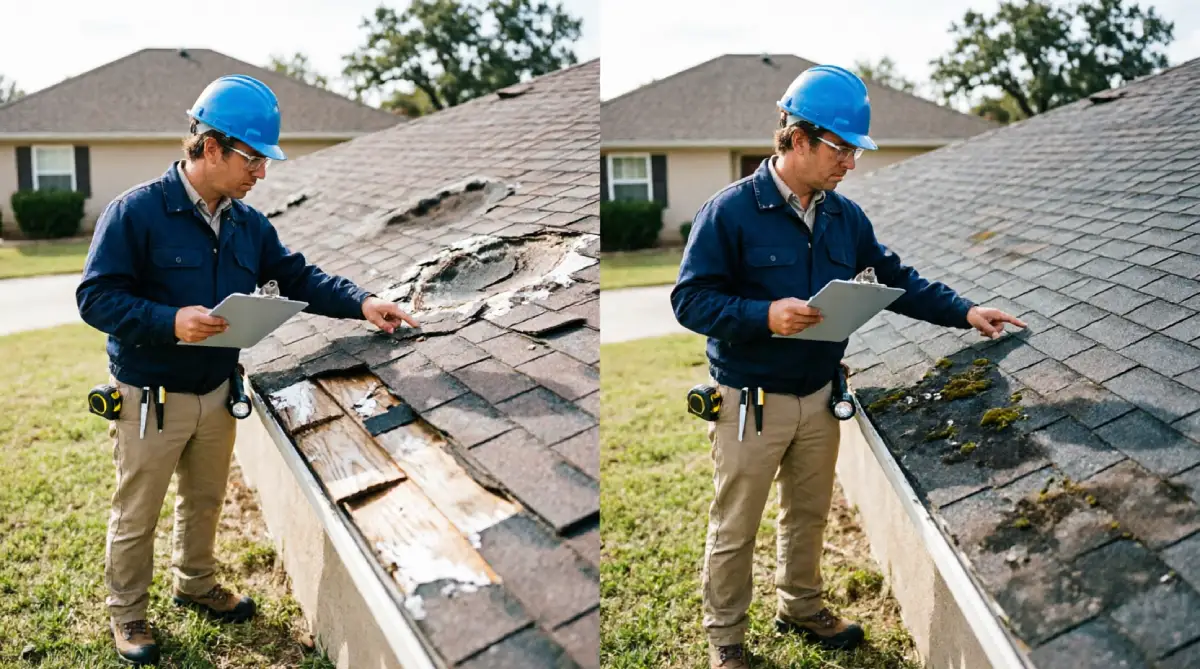
- Circular impact marks (hail hits) on shingle tabs
- Granule loss exposes the black asphalt mat beneath
- Cracked or split shingles from wind uplift
- Missing shingles or entire tabs blown free
- Curling at the edges indicates wind damage
Zone 4 — Flashing and Penetrations
- Lifted, bent, or detached flashing around chimneys and skylights
- Cracked caulk or sealant at pipe boots and vent stacks
- Dented or punctured metal flashing
Zone 5 — Gutters, Downspouts, and Fascia
- Dents and dings on gutters (a reliable hail indicator — if your gutters are dented, your shingles took hits too)
- Excessive granule accumulation in gutters
- Bent or detached downspout connections
- Rotted fascia boards at the roof edge
In most Texas homes I’ve seen after a severe storm, the gutters tell the clearest story. Dense granule buildup after a hailstorm means your shingles have lost years of service life, even if the surface still looks intact.
Signs of Hail Damage on a Roof — What Texas Homeowners Should Look For
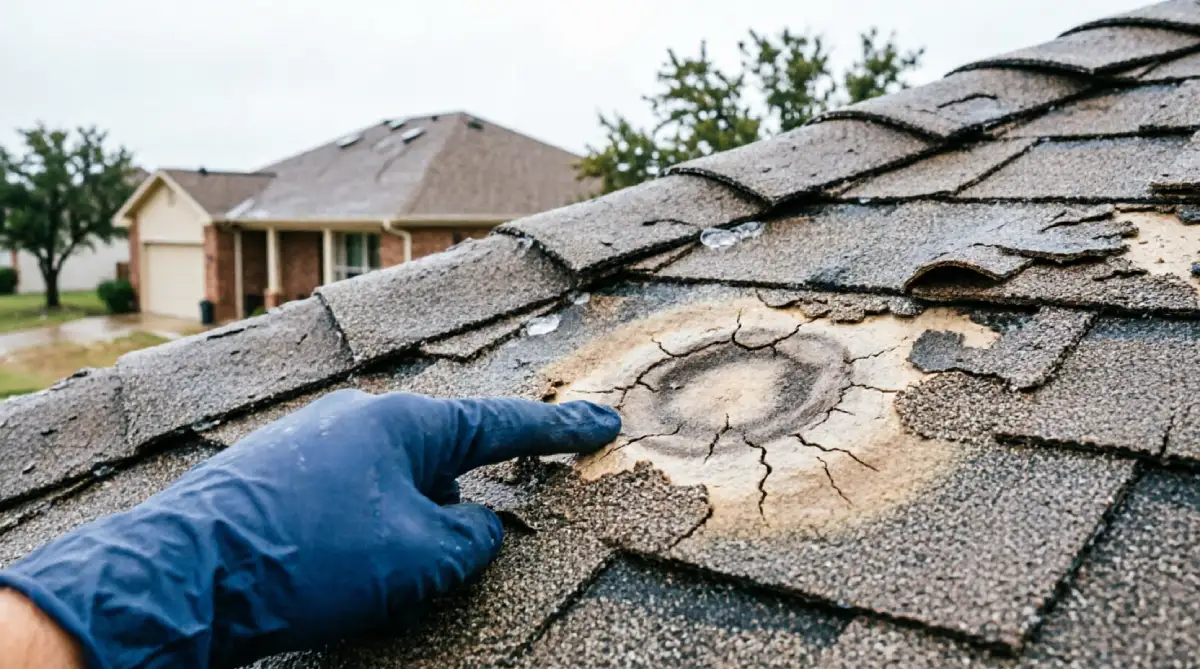
Hail damage on a Texas roof shows up as circular impact marks with granule loss, soft “bruised” spots on shingles, and dents on any metal components, including gutters, AC fins, and vents.
Even small hailstones can cause damage. Hail as small as ¼ inch in diameter can produce asphalt granule loss and surface cracks that lead to major issues over time. Wind speed and direction also play a role — most hail damage occurs during wind speeds over 30 mph. The quality of the shingle matters too: architectural shingles generally withstand greater impact than 3-tab shingles.
Ground-level signs to check before calling a contractor:
- Dark, circular impact spots on shingles (look for a pattern, not random discoloration)
- Soft “bruises” you can press into with your thumb — the fiberglass mat underneath has fractured
- Dented AC unit fins, metal vents, and gutters
- Granules collected in your downspouts — this points to accelerated aging from hail strikes
- Cracked or lifted shingle edges from the wind
Do not climb the roof yourself. It is dangerous, and an untrained homeowner is unlikely to find the subtle damage professionals look for. Additionally, if you climb up and cause damage, you could jeopardize your insurance claim.
What you should do from the ground:
Before going outside to do a perimeter check after a hail storm, check for immediate evidence of roof damage from inside your home. Look for water stains, visible water leaks, and mold or mildew. Then walk the perimeter and document larger signs of impact — downed branches, hailstones still on the ground, debris around the yard.
Photograph everything with timestamps before any cleanup.
Step-by-Step Storm Damage Roof Inspection Checklist
Work through these steps in order. This sequence is designed to build your documentation from the inside out.
Step 1: Interior Check First (Pre-Inspection)
Before going outside:
- Walk through every room. Look at ceilings for new brown or yellow water stains.
- Check the attic with a flashlight — look for wet spots on the underside of the decking, light penetration through gaps, or fresh mold.
- Document with photos. These timestamps matter for insurance.
Step 2: Ground-Level Perimeter Walk
- Walk all four sides of the home in daylight.
- Look for missing shingles, displaced ridge caps, and debris from your own roof.
- Inspect gutters for dents and granule accumulation.
- Check window screens, AC unit, wood fence, and deck boards for hail impact marks (these support your claim).
- Photograph every dent, hit, and displaced material with a tape measure for scale.
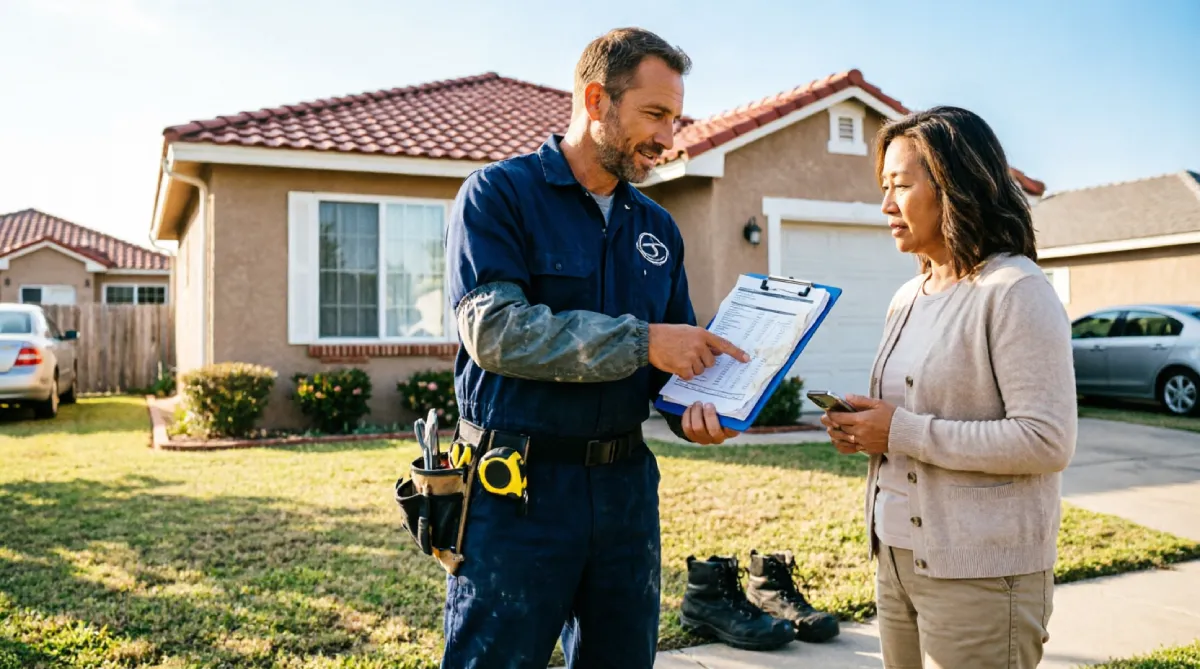
Step 3: Hire a Licensed Texas Roofing Contractor for the Roof Surface
This is not optional. Most damage is not visible from the ground. Hidden damage, such as bruised shingles and granule loss, often goes undetected until a professional conducts a detailed inspection.
Ask for:
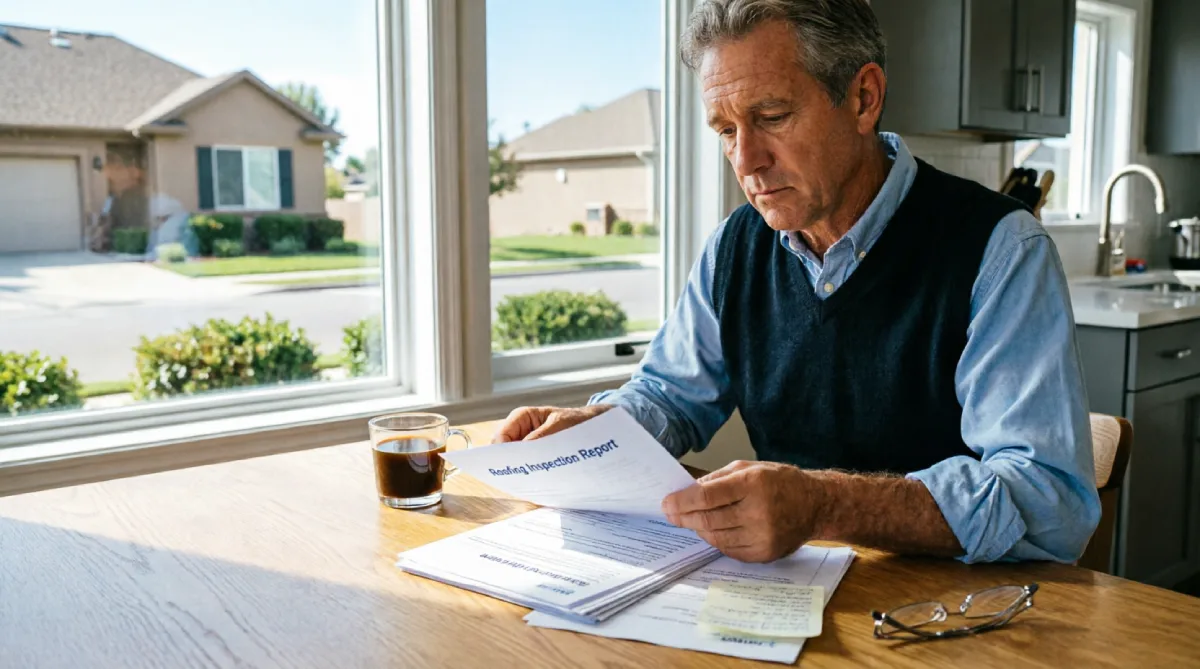
- A written inspection report with photographs
- Damage marked by zone and material
- An itemized repair estimate
Step 4: Document All Soft Areas and Material Failure
Your contractor should note:
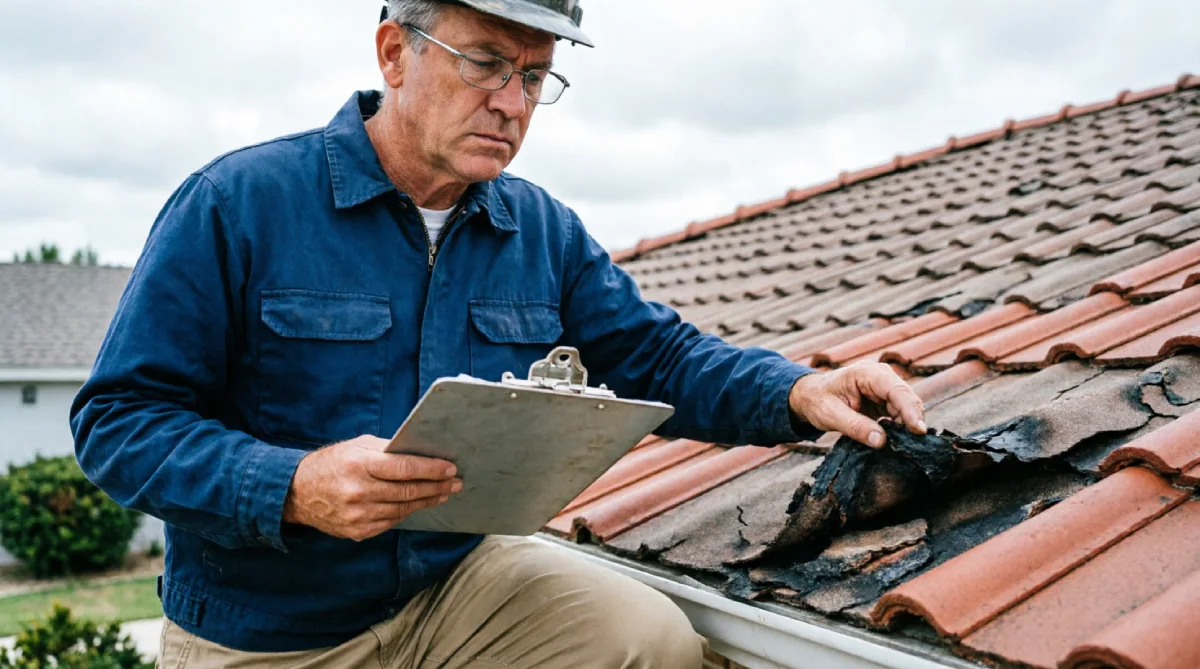
- Which shingles show functional damage vs. cosmetic damage (this distinction matters — many Texas policies now exclude cosmetic damage)
- The extent of granule loss and the estimated remaining service life
- Any lifted or missing flashing
Step 5: Review the Adjuster’s Report Against the Contractor’s Findings
In a high-volume claim period, an adjuster may not fully evaluate complex roofing conditions — especially on older homes with multiple re-roofing layers or original flashing. Your inspection documentation gives you a clear, specific record to reference if the adjuster’s initial findings do not reflect the actual scope of damage.
If the adjuster’s estimate is lower, ask for a reinspection or file a supplement.
Step 6: Emergency Tarping If There Are Active Openings
Texas homeowner’s insurance policies require you to take reasonable steps to prevent additional damage after a storm loss. If the storm created openings in your roof, emergency tarping protects the interior and documents your compliance with that requirement. Document all temporary measures with photos and retain receipts.
Understanding Texas Storm Damage Inspection vs. A Standard Maintenance Inspection
A regular maintenance inspection and a post-storm damage inspection are not the same thing — and using one in place of the other is a mistake that can cost you your claim.
| Factor | Routine Maintenance Inspection | Storm Damage Inspection |
|---|---|---|
| Purpose | Assess wear, extend roof life | Document storm-caused damage for insurance |
| Timing | 1–2 times per year | Within days of a weather event |
| Documentation | General condition report | Itemized damage with photo evidence |
| Report type | Advisory/maintenance | Insurance-grade damage assessment |
| Cost | $0–$350 (or free from contractors) | Often free from storm-specialist contractors |
| Who does it | Any licensed roofer | Contractor with insurance claim experience |
| Adjuster coordination | Not typical | Standard part of the process |
Experts recommend scheduling routine roof inspections at least twice a year — once before and once after storm season. Inspections should also be done after any severe weather event. But after a storm, you need the second type above, not a general check.
In Texas, the two most common mistakes I see homeowners make are hiring a general maintenance inspector after a hailstorm who doesn’t flag damage in adjuster-ready terms and waiting weeks to schedule any inspection at all.
Cost Breakdown: Storm Damage Roof Inspection in Texas
Cost Table
| Inspection Type | Low Cost | Mid Cost | High Cost |
|---|---|---|---|
| Free contractor inspection (storm response) | $0 | $0 | $0 |
| Basic professional visual inspection | $75 | $150 | $200 |
| Standard walk-through inspection | $138 | $250 | $350 |
| Drone inspection (steep/complex roofs) | $150 | $275 | $400 |
| Infrared/thermal imaging inspection | $300 | $400 | $500 |
| Full independent inspector report | $200 | $350 | $690 |
Texas-Specific Cost Notes:
- Many local roofing contractors in Texas offer free inspections — especially if you’re considering a roof replacement, repairs, or maintenance. Storm damage inspections are also often free, particularly if the contractor provides insurance claim assistance.
- For a paid professional inspection, the cost in Texas typically ranges from $138 to $690, with an average of around $253. This varies by inspector credentials, travel distance, and inspection complexity.
- In the Houston market specifically, the average roof inspection runs $283–$406, though actual project costs range from $98 to $790 depending on scope.
- Free contractor inspections are common but come with a trade-off: the inspector works for the contractor, not for you. For complex damage or disputed claims, an independent inspector is worth the fee.
- Drone inspections are particularly useful for steep or difficult-to-access roofs, providing high-resolution documentation that supports insurance claims without putting anyone at risk.
Insurance Deductible Reality Check:
Many Texas policies now use percentage-based deductibles for wind or hail — commonly 1–2% of the dwelling coverage. On a $400,000 home, a 2% wind/hail deductible equals $8,000 out of pocket before coverage applies. Knowing your deductible before the storm hits is essential — it changes your entire repair decision.
In 2024, nearly 47% of Texas home claims were reportedly closed without payment, up from 35% in 2016, highlighting how policy terms and deductibles are shifting more costs to homeowners.
DIY Inspection vs. Hiring a Professional in Texas
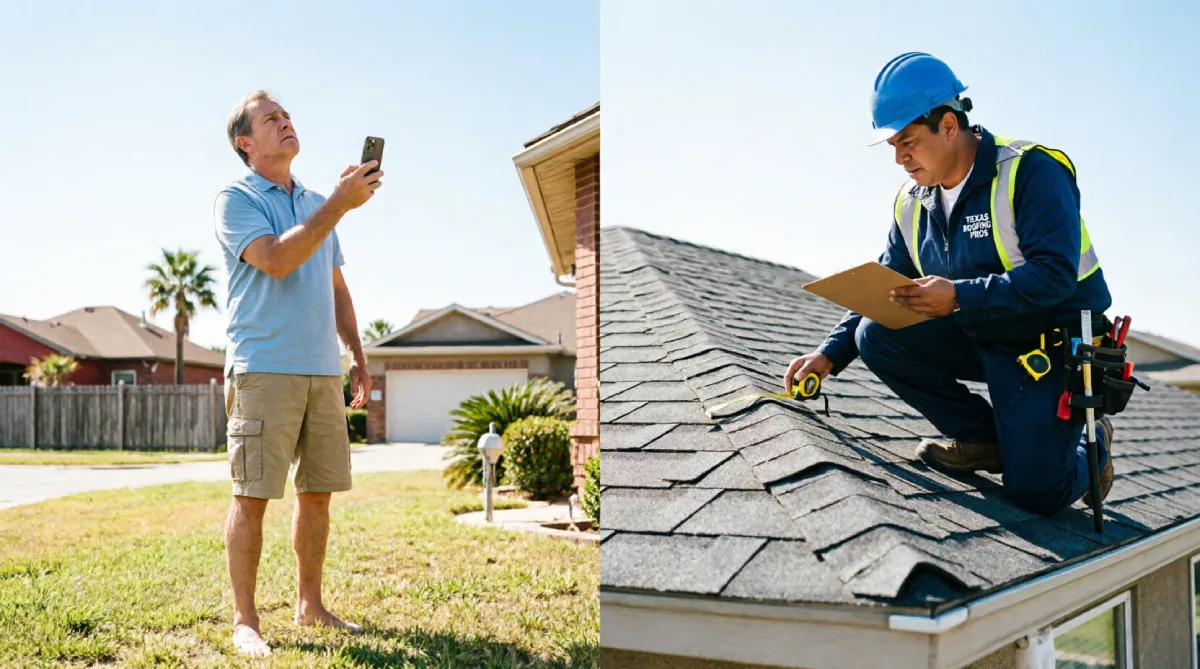
For a storm damage roof inspection in Texas, a DIY ground-level check is useful for initial documentation, but the roof surface evaluation must be done by a licensed professional — both for safety and to protect your insurance claim.
Here’s the honest breakdown:
| Task | DIY | Professional |
|---|---|---|
| Interior water damage check | Yes — do this first | Not needed for this step |
| Ground-level perimeter documentation | Yes — photograph everything | Not needed for this step |
| Gutter and downspout check | Yes | Can supplement |
| Roof surface inspection | No | Required |
| Flashing and penetration assessment | No | Required |
| Insurance-grade damage report | No | Required |
| Adjuster coordination | No | Recommended |
The risk of climbing your own roof goes beyond safety. If you climb up and cause damage while attempting an inspection, you could jeopardize your insurance claim. Texas adjusters are specifically trained to look for signs of homeowner-caused damage versus storm damage.
The DIY portion of a storm inspection is purely documentation: timestamps, photographs, and written notes. Everything on the roof itself belongs to a licensed contractor.
Texas Insurance Claim Process After a Storm Inspection
This is where homeowners lose money — not on the roof, but on the paperwork.
Step 1: Know Your Policy Before You Call
Pull your declarations page and check:
- Your wind/hail deductible (1% or 2% of Coverage A — not the repair amount)
- Whether your roof is covered at Replacement Cost Value (RCV) or Actual Cash Value (ACV)
- Whether your policy has a cosmetic damage exclusion for roofing
Many insurance companies are no longer offering replacement cost coverage for roofs older than 10 years. Instead, they are opting for Actual Cash Value coverage, which accounts for depreciation and results in a lower payout.
Step 2: File Promptly
Texas insurance policies typically require storm claims within 365 days of the loss. Delaying can cost you thousands, and undocumented hail damage shows up on inspection reports and damages buyer confidence if you ever sell.
Note: If you have TWIA coverage (coastal Texas), you have 1 year from the date of the storm to file a claim.
Step 3: Be Present During the Adjuster Visit
Have your contractor’s report in hand. Walk the adjuster through each damage point documented in your inspection report. If their findings are lower than your contractor’s, do not sign off immediately.
Step 4: Know Your Rights to Dispute
If the adjuster’s estimate misses damage items, undervalues materials, or excludes original flashing replacement, you have the right to request a reinspection or file a supplement.
Step 5: Understand the Deductible Waiving Law
In 2019, the Texas state legislature passed a law mandating that contractors must collect the deductible payment directly from homeowners or face a Class C misdemeanor. A contractor who offers to “waive your deductible” is violating Texas law. Walk away from any contractor making that offer.
Common Mistakes Texas Homeowners Make After a Storm
These are the patterns that consistently result in denied claims and higher out-of-pocket costs.
- Waiting too long. The longer you wait, the harder it is to attribute damage to a specific storm event. Adjusters will look for signs of pre-existing wear, and they will find them on an older Texas roof.
- Only checking visible damage. Hail bruises asphalt shingles without punching through. The mat cracks underneath while the surface looks intact. Interior leaks show up 6–18 months later when the underlying mat finally fails.
- Using a contractor who doesn’t understand the insurance process. Not every roofer knows how to write a report in adjuster-ready language. The report format matters as much as the findings.
- Signing a contractor’s Assignment of Benefits (AOB) without reading it. This document transfers your insurance claim rights to the contractor. In Texas, AOB arrangements have historically led to disputes and overbilling.
- Assuming cosmetic damage isn’t covered. Check your policy. Some Texas policies have added cosmetic exclusions that specifically exclude dents to metal components that don’t affect function. If yours has this clause, document functional damage — not just surface marks.
- Not checking soft metal for hail evidence. Window screens, AC fins, wood deck boards, and fence caps are excellent indicators. If hail was large enough to dent those, it damaged your shingles.
- Accepting the adjuster’s first estimate without review. In high-volume claim periods, an adjuster may not fully evaluate complex roofing conditions. Your inspection documentation gives you leverage for a reinspection or supplement.
Practical Tips for Texas Homeowners
- After any storm, photograph your gutters first — dents and granule accumulation are the clearest indicators of hail activity and are easy to capture at ground level without any risk.
- Keep a folder with your roof installation date, the contractor’s warranty, and permit records. This baseline documentation makes insurance conversations much cleaner.
- Check your policy’s roof coverage type annually. If it’s shifted to ACV, you’ll pay significantly more out of pocket after a loss. Ask your agent specifically about this before storm season.
- If your roof is more than 10 years old or your area recently experienced hail or strong winds, schedule a professional inspection even if you see no visible damage. Early action helps prevent major repairs and keeps your insurance coverage valid.
- In North Texas, carriers are increasing wind and hail deductibles to 2% or more. Review your declarations page before this storm season — not after.
- For coastal Texas homeowners who don’t have TWIA coverage, your standard homeowners policy may not cover wind and hail damage. You’ll need a separate windstorm policy, and lenders typically require it if you have a mortgage.
- Use the Home Depot or Lowe’s weather-rated tarps rated at 6 mil or heavier if you need temporary coverage — cheap tarps tear in the wind and void your temporary repair documentation.
- Photograph the serial number label on your HVAC condenser after a hail storm. If the fins are dented, that’s physical evidence of hail size and force that supports your roof damage claim.
FAQs
How much does a storm damage roof inspection cost in Texas?
Many local roofing contractors in Texas offer free storm damage inspections, especially if they assist with insurance claims. For a paid independent inspection, expect to pay between $138 and $690, with an average of around $253. For high-accuracy insurance documentation on complex or steep roofs, a drone or thermal inspection runs $150–$500.
Can I do a storm damage roof inspection myself in Texas?
You can and should handle the interior check and ground-level perimeter documentation yourself — with photographs and timestamps. But the roof surface must be handled by a licensed professional. Self-inspecting the roof surface is dangerous, and if you cause damage, it can void part of your insurance claim.
Do I need a permit for roof repairs after storm damage in Texas?
Yes. Most Texas municipalities require a permit for roof replacement and significant repair work. Requirements vary by city — Dallas, Houston, Austin, and San Antonio each have their own permitting process. Your contractor should pull this permit. If they say it isn’t required, verify with your local building department directly.
How long do I have to file a roof insurance claim after a storm in Texas?
Most Texas homeowner’s insurance policies require storm claims within 365 days of the loss. TWIA policies also allow one year from the storm to file a claim. Do not wait — older damage is harder to attribute to a specific event, and adjusters will note signs of pre-existing wear.
What is a wind and hail deductible in Texas, and how does it work?
In Texas, the wind-hail deductible is calculated as a percentage of the value of the entire home, not just the repair costs or the roof value alone. Common deductibles are 1–2% of the dwelling coverage. On a $400,000 home, a 2% deductible means $8,000 out of pocket before your insurer pays anything.
Is hail damage roof repair worth filing a claim in Texas?
It depends on your deductible. If repair costs are close to or below your deductible, filing only raises your premium without a net benefit. Get your contractor’s written estimate first, compare it against your deductible, then decide. Also factor in whether the damage will compound — untreated hail damage accelerates shingle failure.
What’s the difference between RCV and ACV roof coverage in Texas?
Replacement Cost Value (RCV) pays to replace your damaged roof with comparable new materials, minus your deductible. Actual Cash Value (ACV) pays the depreciated value of the old roof — meaning a 15-year-old roof gets a fraction of what a new one costs. Many insurers are no longer offering RCV for roofs older than 10 years, shifting homeowners to ACV coverage. Check your policy now, not after the storm.
Should I be present when the insurance adjuster inspects my roof?
Yes — and bring your contractor’s written inspection report. The adjuster’s job is to assess for the insurance company. Your job is to make sure every documented damage point is reviewed. If the adjuster’s findings are lower than your contractor’s, do not sign the initial estimate as a final settlement.
Does Texas require a licensed contractor for roof repairs?
Texas does not have a statewide roofing contractor license requirement, but many cities do have local licensing requirements. More importantly, your insurance company may require that repairs be completed by a licensed, bonded, and insured contractor for the claim to be paid. Always verify contractor credentials and ask for their liability insurance certificate before signing anything.
What is TWIA, and do I need it for storm damage coverage?
The Texas Windstorm Insurance Association (TWIA) is the state-run insurer of last resort for windstorm and hail coverage. If you live along the Texas coast and your standard homeowners policy excludes wind and hail coverage, you can buy a TWIA policy through your insurance agent. Windstorm insurance is not required by law, but if you live near the coast and have a mortgage, your lender will likely require it.
How do I know if my roof needs full replacement vs. repair after a storm?
A contractor with insurance claim experience can give you a scope recommendation based on the percentage of the roof affected, the age and condition of the remaining shingles, and the insurance adjuster’s findings. As a general rule, if more than 25–30% of the roof surface shows functional damage, or if the roof is over 15 years old with significant granule loss, replacement is typically the more cost-effective long-term choice.
What should I do if my storm damage insurance claim is denied in Texas?
Request a written denial explaining the specific reason. Review your policy language against the denial. Get a second independent inspection report. You have the right to file a complaint with the Texas Department of Insurance (TDI), request an appraisal, or consult a public adjuster. Do not accept a denial as final without reviewing the documentation your contractor provided.
Conclusion
After a Texas storm, the sequence matters: start inside the attic, work your way to the ground perimeter, document everything with photographs, then get a licensed contractor on the roof for a proper damage assessment. Your insurance claim is only as strong as your documentation. Know your deductible before storm season — a 2% wind/hail deductible on a $350,000 home is $7,000 out of pocket, and that number changes every repair decision you make. Understand whether your policy covers replacement cost or actual cash value, because for an older roof, the difference can run into tens of thousands of dollars. File promptly, be present during the adjuster visit, and don’t sign a final settlement until your contractor has reviewed the adjuster’s findings. Texas storms are not going anywhere — but a clean, documented inspection process puts you in a position to recover without leaving money behind.
