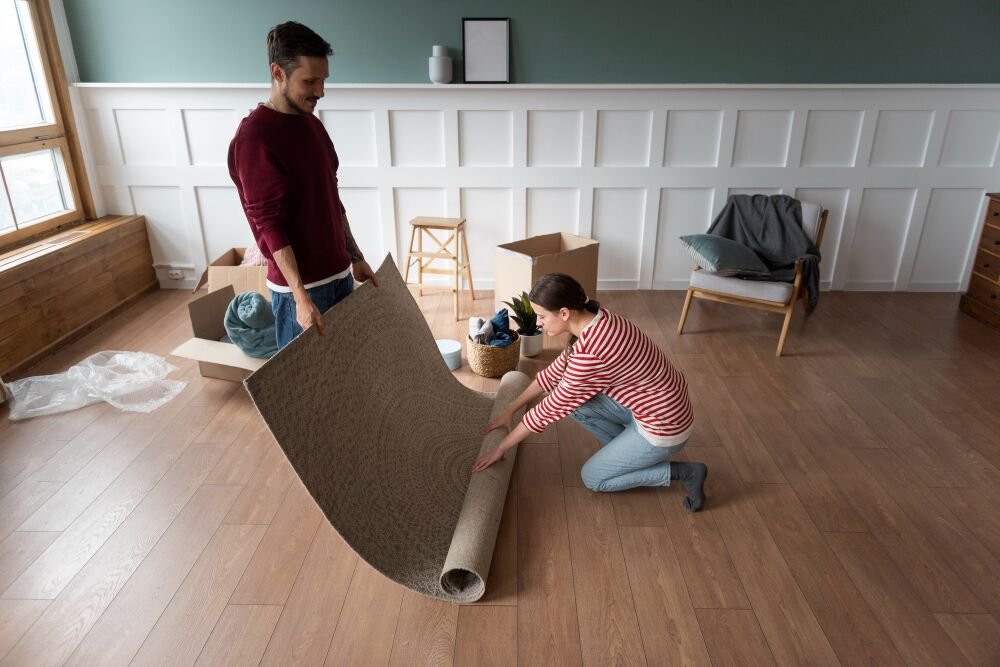
Imagine walking into a room with fresh, new flooring – a space that feels clean, inviting, and completely transformed. Removing old carpet and preparing the subfloor is the first step towards achieving this vision, and with the right approach, it can be a manageable and rewarding DIY project.
In this comprehensive guide, we’ll walk you through the process of removing old carpet and preparing the subfloor for new flooring, ensuring a smooth transition to your dream space.
Remove Old Carpet For New Flooring
| Step | Key Takeaways |
|---|---|
| Preparation | – Gather essential tools like utility knives, pry bars, safety gear, and trash bags/dumpster. – Prioritize safety by wearing gloves, masks, eye protection, and ensuring proper ventilation. – Prepare the room by clearing furniture, protecting walls/baseboards, and laying down drop cloths. |
| Removing the Carpet | – Cut the carpet into manageable sections. – Pull up the carpet sections using a pry bar if needed. – Remove the carpet pad by cutting and peeling it up. |
| Tackling Tack Strips | – Understand the hazards of sharp tack strips. – Use a pry bar and hammer to carefully remove tack strips. – Dispose of tack strips properly as they may be hazardous waste. |
| Preparing the Subfloor | – Inspect the subfloor for damage, uneven areas, or moisture issues. – Repair any minor subfloor damage by filling holes, sanding, or replacing sections. – Thoroughly clean the subfloor by sweeping, mopping, and allowing it to dry completely. |
Removing old carpet and preparing for new flooring can be a daunting task, but with the right approach, it can be a manageable and rewarding project. In this comprehensive guide, we’ll walk you through the process step-by-step, ensuring a smooth transition to your new flooring.
Preparation
Before diving into the carpet removal process, it’s essential to gather the necessary tools and materials, prioritize safety, and prepare the room for the task ahead.
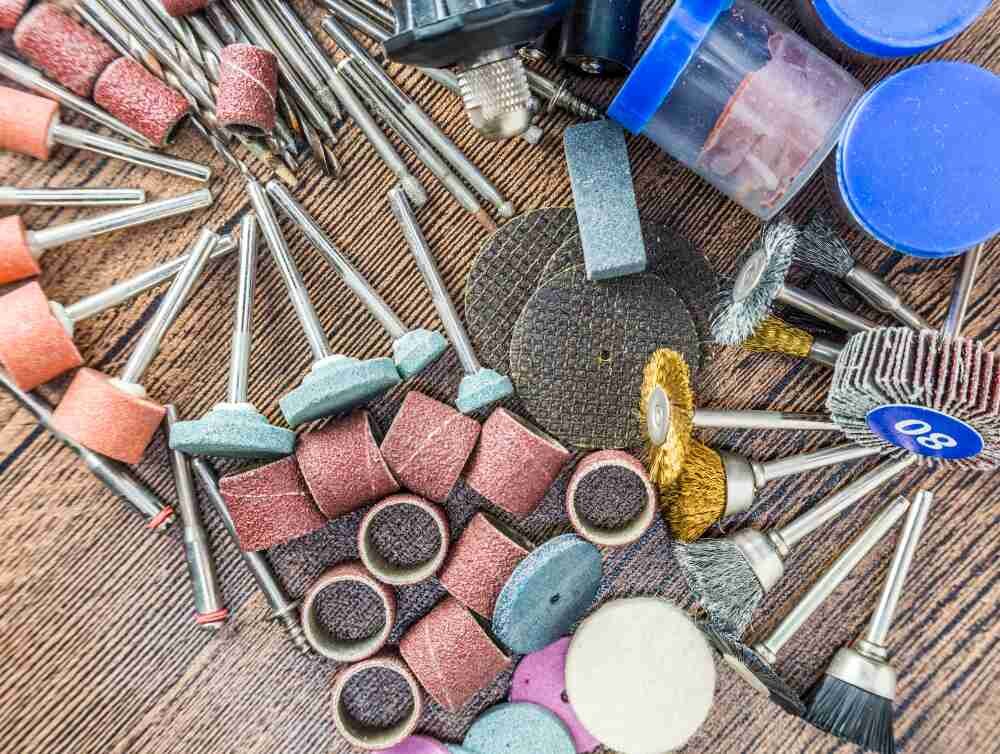
1. Gathering Tools and Materials
Removing old carpet requires a few essential tools and materials. Here’s what you’ll need:
- Utility knife or carpet knife
- Pry bar
- Hammer
- Safety gear (gloves, masks, eye protection)
- Heavy-duty trash bags or a roll-off dumpster for disposal
- Knee pads (optional, but can make the process more comfortable)
You can purchase these items at your local hardware store or rent them from a tool rental company if needed. Having the right tools on hand will make the job easier and more efficient.
2. Safety First
Safety should be a top priority when removing old carpet. Here are some essential precautions to take:
- Wear protective gloves to avoid cuts and scrapes from sharp edges or tack strips.
- Use a mask or respirator to prevent inhaling dust and debris.
- Wear eye protection, such as safety glasses or goggles, to protect your eyes from flying particles.
- Ensure proper ventilation by opening windows or using fans to circulate fresh air.
Taking these safety measures may seem like an extra step, but they can prevent potential injuries and health hazards.
3. Preparing the Room
Before starting the carpet removal process, it’s crucial to prepare the room. Here’s what you should do:
- Clear the room of furniture and other obstacles, ensuring a clear workspace.
- Protect walls and baseboards by covering them with plastic sheeting or cardboard to prevent damage.
- Lay down drop cloths or tarps to catch debris and make cleanup easier.
By preparing the room properly, you’ll minimize the risk of damage and make the entire process smoother and more efficient.
Removing the Carpet
Now that you’ve gathered the necessary tools, taken safety precautions, and prepared the room, it’s time to tackle the carpet removal process.
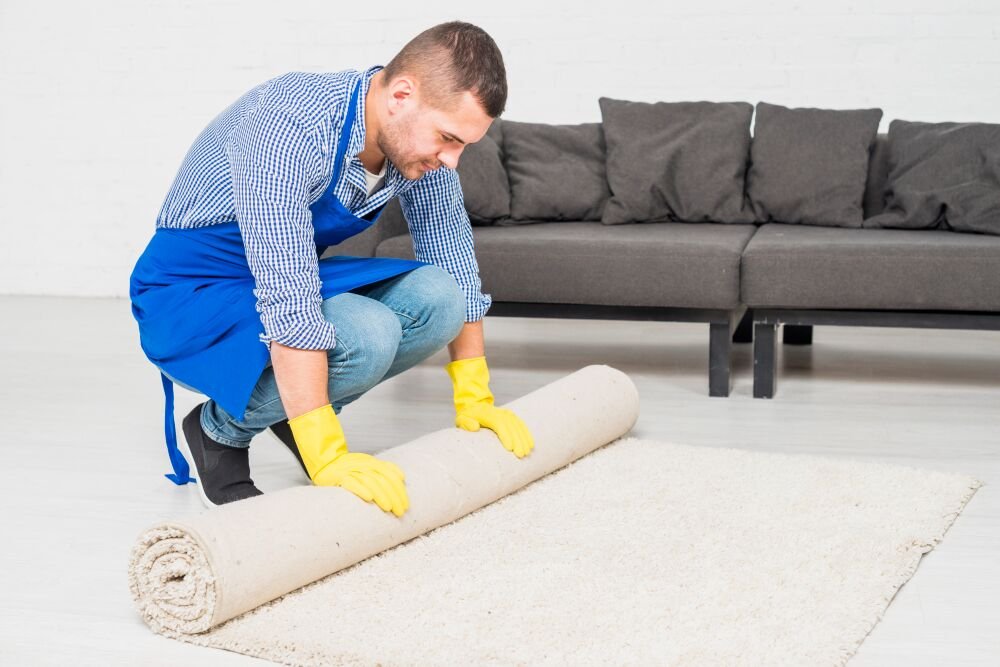
1. Cutting the Carpet
The first step in removing old carpet is to cut it into manageable sections. Here’s how to do it:
- Using a utility knife or carpet knife, carefully cut the carpet into strips or sections, typically 3 to 4 feet wide.
- Work your way from one corner of the room to the other, cutting along the walls and around obstacles like doors or closets.
- Be careful not to cut too deeply, as you don’t want to damage the subfloor underneath.
Cutting the carpet into sections makes it easier to pull up and manage, especially in larger rooms.
2. Pulling Up the Carpet
Once the carpet is cut into sections, it’s time to start pulling it up. Here’s the process:
- Grab a corner of the cut carpet section and start pulling it up, working your way across the room.
- Use a pry bar or knee kick to loosen the carpet from the tack strips or adhesive if needed.
- Work in sections, pulling up one area at a time to make the process more manageable.
It’s important to be patient and take your time during this step. Pulling too forcefully can lead to damage or injury.
3. Removing the Carpet Pad
If your old carpet installation included a carpet pad, you’ll need to remove it as well. Here’s how:
- Once the carpet is removed, you’ll see the carpet pad underneath.
- Use a utility knife to cut the pad into sections, just like you did with the carpet.
- Peel up the sections of the carpet pad, taking care not to leave any residue or debris on the subfloor.
Proper disposal of the old carpet and pad is crucial. Many municipalities have specific guidelines for disposing of these materials, so be sure to check your local regulations.
Tackling the Tack Strips
After removing the carpet and pad, you’ll likely encounter tack strips – those sharp, metal or plastic strips that were used to hold the carpet in place.
1. Understanding Tack Strips
Tack strips are narrow strips of wood or plastic with rows of sharp, angled nails or pins that grip the carpet backing. They’re typically found around the perimeter of the room, where the carpet meets the baseboards.
While tack strips serve an important purpose in carpet installation, they can be hazardous if not handled properly. The sharp nails or pins can easily puncture skin or cause injury, so it’s essential to exercise caution when removing them.
2. Removing Tack Strips
To remove tack strips, you’ll need a pry bar and a hammer. Here’s the process:
- Use the pry bar to gently loosen and lift the tack strips from the subfloor.
- If the tack strips are particularly stubborn, you may need to use the hammer to tap the pry bar underneath and pry them up.
- Work in sections, removing a few feet of tack strips at a time.
- Be careful not to damage the subfloor or baseboards while removing the tack strips.
It’s important to take your time and work carefully during this step to avoid injuries from the sharp nails or pins.
3. Disposing of Tack Strips
Once the tack strips are removed, it’s crucial to dispose of them properly. Here are some tips:
- Collect the tack strips in a sturdy container or bag to prevent accidental punctures.
- Check with your local waste management authority for specific guidelines on disposing of tack strips, as they may be considered hazardous waste.
- If possible, recycle the tack strips at an appropriate facility.
Safety should be the top priority when handling and disposing of tack strips.
Preparing the Subfloor
With the old carpet, pad, and tack strips removed, it’s time to focus on preparing the subfloor for your new flooring installation.
1. Inspecting the Subfloor
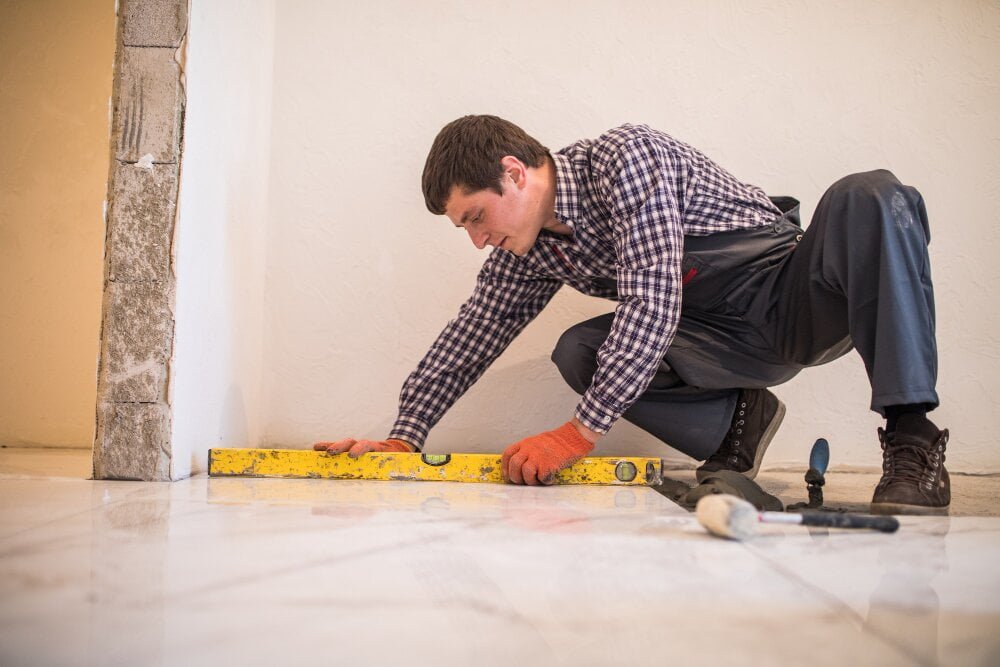
Before proceeding with any further steps, it’s essential to inspect the subfloor thoroughly. Here’s what to look for:
- Cracks, holes, or other damage that may need repair
- Uneven or raised areas that could cause issues with the new flooring
- Signs of moisture or water damage, which should be addressed immediately
Addressing any issues with the subfloor before installing new flooring is crucial. Ignoring problems can lead to costly repairs or a subpar finished product down the line.
2. Repairing the Subfloor
If you discover any minor damage or imperfections in the subfloor, it’s essential to repair them before proceeding. Here are some common repair techniques:
- Filling holes or cracks with a floor patching compound or wood filler
- Sanding down raised or uneven areas to create a smooth surface
- Replacing severely damaged sections of the subfloor with new underlayment or plywood
For more significant subfloor issues, such as extensive water damage or structural problems, it’s best to consult a professional contractor for guidance and assistance.
3. Cleaning the Subfloor
Once any necessary repairs are made, the final step is to thoroughly clean the subfloor. This ensures a clean surface for your new flooring installation and helps prevent any debris or residue from interfering with the installation process.
Here’s how to clean the subfloor effectively:
- Sweep or vacuum the entire surface to remove any loose debris or dust.
- Use a damp mop or cloth to wipe down the subfloor, removing any remaining dirt or residue.
- Allow the subfloor to dry completely before proceeding with your new flooring installation.
A clean subfloor not only provides a better surface for installation but also helps extend the lifespan of your new flooring.
Conclusion
Removing old carpet and preparing for new flooring can be a satisfying DIY project with the right approach. By following this comprehensive guide, you’ll be well-equipped to tackle the task with confidence. Remember to prioritize safety, gather the right tools, and take the time to prepare the subfloor for a successful new flooring installation.
With a clean slate and a properly prepared subfloor, you’re one step closer to transforming your space into the inviting, beautiful area you’ve envisioned. Embrace the journey, and enjoy the sense of accomplishment that comes with completing this project yourself.


