

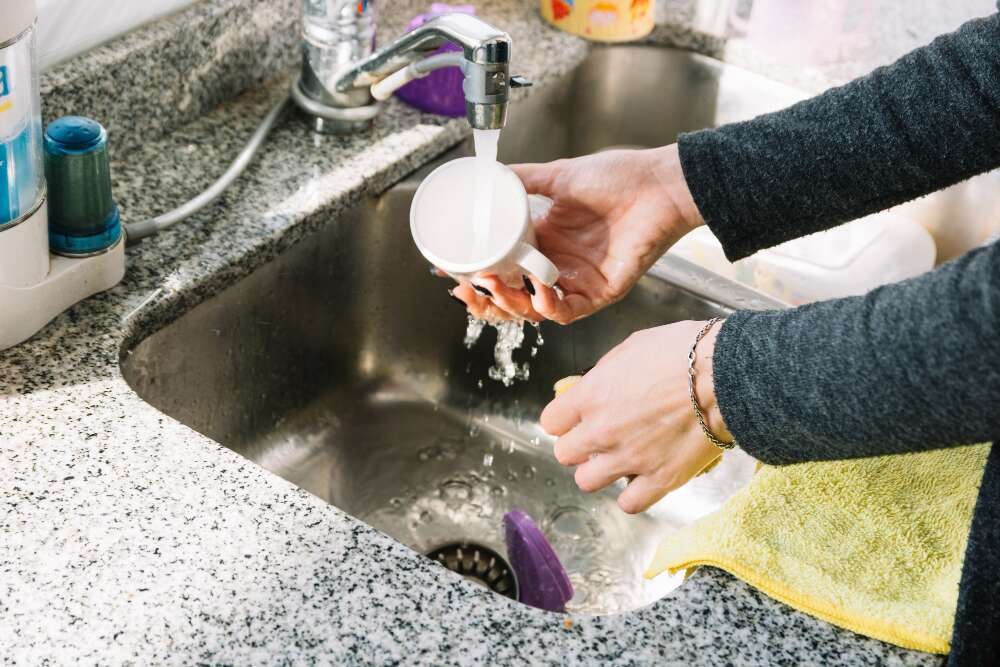
[The kitchen faucet is one of the most frequently used features in any home. From washing dishes to cleaning vegetables, we rely on our faucets multiple times a day. Over time, faucets can become worn out, begin leaking, or simply look dated. Replacing an old kitchen faucet with a new one can make a huge difference in the functionality and appearance of your kitchen. Most homeowners can install a new kitchen faucet in under 3 hours using a basin wrench and adjustable pliers—no professional plumbing experience required. With some basic preparation and by following key installation steps, you can upgrade your kitchen with a brand new faucet.
Install Kitchen Faucet
A properly functioning and great-looking kitchen faucet is essential for any home cook. The ease and convenience of having a faucet that provides the right water flow and temperature can make all the difference during meal preparation and clean up. Unfortunately, kitchen faucets receive so much daily use that they are prone to problems like leaks, broken sprayers, and limescale buildup. If your current kitchen faucet is giving you issues or no longer matches your kitchen’s style, installing a new one yourself is a great DIY project.
When you install the faucet yourself, you control the budget—and you can pick a model that actually matches your kitchen style, not just what’s on sale. With some handy tools, basic skills, and the right approach, installing a new kitchen faucet can be accomplished in a few hours or less. The key is taking time to understand your new faucet, properly preparing for the installation, carefully following installation steps, and avoiding common mistakes. Follow these plumber-tested steps, and you’ll install your kitchen faucet without leaks, stripped fittings, or that sinking feeling you missed a step.
Understanding Your Faucet

Before getting started on removing your old faucet and installing a new one, it’s important to understand the different types of kitchen faucets available and the components involved. This knowledge will ensure you purchase the right faucet and have all the necessary tools for a smooth installation.
Types of Kitchen Faucets
There are a few main types of kitchen faucets to consider:
- Single-handle – These faucets have one lever that controls both hot and cold water flow. They tend to have a sleek, contemporary look.
- Two-handle – As the name suggests, these faucets have separate hot and cold handles for more precise water temperature control. They have a more traditional style.
- Pull-down/pull-out – This style has an extendable hose that pulls down or out to make it easier to rinse countertops or fill pots.
- Commercial style – These faucets have a tall arched design and a flexible spring neck, similar to restaurant kitchens.
Consider your kitchen’s layout, your needs, and your preferred style when choosing a new kitchen faucet.
Measure Your Sink’s Faucet Holes
Before shopping, measure your sink’s faucet hole spread: 4 inches for centerset models, 8 inches for widespread configurations, or a single 1⅜-inch hole for modern single-handle faucets—most new models include an escutcheon plate to cover unused holes. This deck plate creates a clean finish and prevents debris from falling into the cabinet when replacing faucets with different hole configurations.
Faucet Components
The basic components of a standard single-handle kitchen faucet are:
- Spout – The curved neck of the faucet where water flows out. Can be a fixed spout or have a pull-down/pull-out spray head.
- Handle – Controls the on/off function and water temperature.
- Cartridge – An internal component that regulates water flow and temperature.
- Aerator – Located at the tip of the spout, this mixes air into the water stream to prevent splashing.
- Supply lines – Flexible water line hoses that connect the faucet to the water supply valves.
- Mounting hardware – Bolts, gaskets, washers, and nuts used for securing the faucet.
Tools Needed
Gathering the right tools ahead of time will make installing your new faucet much easier. Here are the basic tools required:
- Basin wrench – Used for reaching and turning nuts at the back of the sink. Pro tip: Angle the pivoting jaw to grip the mounting nut from the side rather than straight-on—this gives you 3x more leverage in cramped under-sink cabinets.
- Adjustable wrenches (8–10 inch) or combination wrenches (½-inch and 9/16-inch) – For standard supply line compression nuts—critical for avoiding stripped fittings in tight under-sink spaces.
- Plumbers’ putty or caulk – Seals any gaps between the new faucet and sink.
- Flashlight – Helps illuminate under the sink.
- Cloth – For cleaning up any drips or spills during kitchen faucet installation.
- Bucket – For catching water during the removal of old supply lines.
- Safety goggles – Protect eyes from debris when removing the old faucet.
Pre-Installation Preparation
Taking the right preparatory steps before you begin installing your new kitchen faucet will make the process much smoother. Be sure to:
Shut Off the Water Supply
Locate the shut-off valves for the hot and cold water lines under your sink and turn them clockwise to the “off” position. This prevents water from spraying out when you detach the old supply lines. Test with the faucet lever to make sure the water is completely shut off.
Remove the Old Faucet
Start by clearing any items from under your sink and placing a towel or bucket beneath the faucet to catch any drips. Use a flashlight to locate the supply lines, mounting nuts, and other connections. Carefully disconnect the supply lines with adjustable wrenches and place them in the bucket to drain. Use a basin wrench to loosen and remove the mounting nuts holding the faucet in place. Lift the old faucet out and clean away any putty, grime, or debris from the sink.
Clean the Sink Area
Don’t skip this step: scrub the sink area where the faucet base will sit. Any leftover grime or old putty can cause leaks later. Remove any remaining putty or gasket material and use a mild scrubbing cleaner to get rid of dirt and bacteria buildup. Wipe the area completely dry with a clean cloth. Proper cleaning prevents leaks and provides a clean surface for the new faucet.
Installation Process
Once you have shut off the water, removed the old faucet, and cleaned the sink area, you’re ready to install your new kitchen faucet. Follow these key steps:
Step 1 – Insert the Gasket
Your new faucet will come with a rubber gasket or washer. Place this firmly into the groove or lip around the faucet hole opening. This helps create a tight seal between the faucet and sink.
Step 2 – Insert the Faucet
Run a small bead of plumber’s putty or caulk around the underside of the faucet base. Carefully lower the faucet into place and press down firmly. The putty or caulk will help fill any small gaps.
Step 3 – Secure the Mounting Hardware
Underneath the sink, slide the mounting bracket, washers, and nuts into place. Tighten the nuts with your fingers or channel locks. Finish tightening with a basin wrench or adjustable wrench. Alternate between tightening each side a few turns at a time to keep the faucet evenly seated.
Step 4 – Connect the Supply Lines
Attach the flexible supply lines to the faucet tailpieces (one hot and one cold). Most new faucets use quick-connect supply lines that snap into place with an audible click—no wrench needed. If yours has traditional compression fittings, hand-tighten the nut first, then add a quarter-turn with pliers to avoid cracking the plastic housing. For threaded connections, wrap male threads clockwise with 2–3 layers of thread seal tape (PTFE/Teflon tape) to create a watertight seal without over-tightening. Tighten by hand first, then finish with adjustable wrenches. Avoid over-tightening. Connect the other supply line ends to the shut-off valves the same way.
Step 5 – Seal Up and Test
Apply plumber’s putty around the edges above the sink if any gaps are visible,e and wipe away any excess. Turn the hot and cold water valves back on slowly. Turn the faucet on and check for leaks. Let the water run for a few minutes to flush out debris. Post-install validation: Wait 30 minutes and re-inspect all under-sink connections. Run hot water to expand components via thermal expansion, then check again for slow drips that only appear under temperature stress.
Troubleshooting and Common Mistakes

Installing a kitchen faucet involves some tricky maneuvers, rs like working in tight spaces and making plumbing connections. Here are some tips to avoid common mistakes. Don’tover-tightenn
- n fittings – Hand-tighten all supply line nuts first, then add only ¼ to ½ turn with a wrench. Over-torquing cracks plastic compression nuts or deforms rubber gaskets—the #1 cause of post-install leaks.
- Check supply line connections – Loose fittings here cause most leaks. Double-check them for tightness.
- Keep faucet steady when tightening – The faucet needs to stay straight and even during mounting. Have someone hold it still.
- Thoroughly clean mating surfaces – Any debris or old putty can prevent a solid seal. Take time to clean the sink lip and faucet base.
- Adjust pop-up stopper – The rod that controls the drain stopper may need adjusting with pliers after installing your new faucet.
- Be patient – Resist the urge to test your new faucet right away—let the plumber’s putty cure for the time listed on the tube (usually 24 hours) to avoid messy rework. Follow all manufacturer directions.
Catching leaks early and addressing any alignment or tightness issues promptly can prevent major problems down the road.
Upgrading Your Kitchen Faucet
Once you have the basics down for removing your old faucet and installing a new replacement model, it’s fun to explore additional features and styles to truly upgrade your kitchen.
Explore Styles
There are many types of stylish kitchen faucets today, like matte black, brushed nickel, polished chrome, etc. Choose one that matches your sink material and kitchen décor. Curved gooseneck spouts also lend an elegant profile.
Add Special Features
- Touch Controls – For an ultra-modern look, try a faucet with a touch-sensitive handle that toggles water on and off.
- Motion Sensors – Motion-activated faucets turn on when you move your hands close and off when you move away.
- Multiple Spray Modes – Look for pull-down/pull-out faucets with options like stream, sweep spray, and pause.
- Filtration – Some models have built-in filters to remove odors, chlorine taste, lead, and sediments.
- Soap Dispensers – Faucets with soap/lotion dispensers built into the spout offer added convenience.
Choose Finish and Construction
- Stainless Steel – For a professional chef’s kitchen, stainless steel faucets resist corrosion.
- Solid Brass – All-brass construction ensures durability and handles daily wear and tear.
- Composite Materials – Faucets made with materials like zinc alloys or ceramics are resistant to mineral buildup.
- Water-Saving Models – Many faucets have low-flow aerators or sensors to reduce water usage.
With the right upgrade features, you can install a kitchen faucet that makes meal prep and clean up a true pleasure.
Maintenance and Care
To get long-lasting performance from your new kitchen faucet, be sure to follow these maintenance practices:
- Wipe down the faucet daily after use to prevent mineral spots and residue buildup.
- Occasionally,y flush the faucet out by running both hot and cold water on full for a few minutes.
- Clean hard water stains or soap scum with a non-abrasive all-purpose cleaner and a damp sponge.
- Use a toothbrush dipped in vinegar to remove calcium deposits around the spout or aerator.
- Replace the filters and aerators as needed per manufacturer instructions.
- Investigate any drips, leaks, or flow issues promptly and repair as needed.
- Follow the manufacturer’s care guidelines for finishes like stainless steel or specialty coatings.
Taking good care of your kitchen faucet will ensure it functions perfectly for many years before needing a replacement.
Conclusion
Installing a new kitchen faucet is a worthwhile DIY project that can make a big difference in your home. By carefully planning the project, understanding your faucet components, properly preparing your workspace, following key installation steps, and avoiding common mistakes, you can successfully upgrade your sink with a functional and beautiful new faucet. The ability to choose just the right style and features for your needs makes a new faucet an exciting improvement. Maintain your investment by cleaning and caring for your faucet regularly. In no time, you’ll enjoy the refreshed look and performance of your kitchen with a fantastic new focal point installed by your own hands. Tackle your faucet installation confidently next time your kitchen needs an upgrade! ]
