


Imagine walking into a room with fresh, new flooring a space that feels clean, inviting, and completely transformed. Removing old carpet and preparing the subfloor is the first step towards achieving this vision, and with the right approach, it can be a manageable and rewarding DIY project.
In this comprehensive guide, we’ll walk you through every step of removing old carpet and preparing the subfloor for new flooring from gathering the right tools to disposing of hundreds of pounds of waste material. Whether your carpet is stretched over tack strips or glued down on stairs, this guide covers it all.
Remove Old Carpet For New Flooring
Preparation
Before diving into the carpet removal process, it’s essential to gather the right tools, plan your disposal strategy, prioritize safety, and prepare the room properly. A little planning up front saves hours of frustration later.
1. Gathering Tools and Materials
Removing old carpet requires more than just a knife and some trash bags. Having the right — and specific — tools on hand makes the difference between a smooth project and a frustrating one. Here’s what you’ll need:
Cutting & Pulling:
- Heavy-duty utility knife or carpet knife with plenty of spare blades (carpet dulls blades fast)
- Needle-nose pliers or standard pliers for gripping and pulling carpet corners
Stripping & Prying:
- Wonder bar (flat pry bar) for levering up tack strips
- Hammer for tapping the pry bar under stubborn strips
- Flathead screwdriver for removing metal transition strips at doorways
- 5-in-1 tool (painter’s tool) — excellent for scraping staples and prying small sections
Staple & Nail Removal:
- Needle-nose pliers for pulling individual staples
- 5-in-1 tool or wide scraper for removing stubborn staples in bulk
- Knipex pliers (recommended by experienced DIYers on Reddit) for stubborn or deeply embedded staples
Safety Gear:
- N95 dust mask — not just a cloth or surgical mask; carpet removal generates fine, harmful dust
- Heavy-duty work gloves to protect against tack strip nails and utility knife cuts
- Safety glasses or goggles to shield eyes from flying debris
- Knee pads for comfort during extended periods of kneeling
Cleanup & Disposal:
- Shop vacuum (not a regular household vacuum — construction debris will damage it)
- Broom and dustpan
- Duct tape for securing carpet rolls
- Heavy-duty trash bags or a roll-off dumpster
You can purchase these items at your local hardware store or rent them from a tool rental company if needed. An average-sized bedroom can produce several hundred pounds of old carpet, padding, and tack strips — so plan your disposal method before you make the first cut.
2. Planning Disposal in Advance
This is a step many DIYers skip, and it causes real headaches mid-project. Old carpet is heavy, bulky, and awkward to move. Before you start:
- Rent a roll-off dumpster — the most hassle-free option for large rooms or whole-house carpet removal
- Schedule a special pickup with your local waste management company — many accept carpet if it’s rolled and secured
- Find a carpet recycling facility in your area — old carpet can be recycled into new materials, and many municipalities now have dedicated carpet recycling programs
- Check with your local municipality for specific disposal guidelines — some areas have restrictions on how carpet waste is handled
Pro tip: If you’re having new carpet professionally installed, ask your installer if they handle old carpet removal and disposal — many do, and it may be included in the installation price.
3. Safety First
Safety should be a top priority when removing old carpet. Between the sharp tack strip nails, utility knife blades, and clouds of dust, there are real hazards involved.
- Wear N95 dust masks — carpet removal releases decades of trapped dust, allergens, and fine particles into the air
- Use heavy-duty work gloves to avoid cuts and punctures from tack strip nails and sharp carpet edges
- Wear safety glasses or goggles to protect your eyes from flying particles when prying tack strips
- Ensure proper ventilation by opening windows and using fans to circulate fresh air throughout the room
- Keep a first-aid kit nearby — small cuts from tack strips are almost inevitable
4. Preparing the Room
Proper room preparation makes the removal process significantly smoother:
- Clear all furniture completely — this isn’t a job where simply pushing items to one side works. The room needs to be empty.
- Remove metal transition strips at doorways by unscrewing them with a flathead screwdriver. These strips hold carpet edges between rooms and must come out first.
- Protect walls and baseboards by covering them with plastic sheeting or cardboard to prevent damage from pry bars and tack strips.
- Lay down drop cloths or tarps in adjacent rooms to catch dust and debris that escapes through doorways.
- Hang plastic sheeting in doorways of adjacent rooms to contain dust — carpet removal generates a surprising amount of airborne debris.
Removing the Carpet
Now that you’ve gathered the tools, planned disposal, taken safety precautions, and prepared the room, it’s time to tackle the carpet removal process. The key to making this manageable is working methodically in sections.
1. Release the Carpet from the Tack Strips
Start in the corner farthest from your exit door — this is critical because as you remove carpet, you’ll expose the sharp tack strips underneath. Working toward the door means you won’t have to walk back over them.
Here’s the process:
- Use a pair of pliers to grab the carpet in the corner and pull it upward, detaching it from the sharp, toothy tack strips around the perimeter.
- Once you have a couple of feet free, fold the carpet over to expose the backing.
- The carpet will be held in place primarily at the edges by the tack strips, so focus your pulling effort along the perimeter.
For larger rooms, use a pry bar or knee kicker to loosen stubborn sections if the carpet doesn’t release easily by hand.
2. Cut the Carpet into Manageable Strips
This is where most DIYers make a mistake — they try to cut from the top of the carpet, fighting through the thick fibers. Instead:
Pro tip: Score the carpet from the backing (underside), not from the top. The backing is a flat, woven material that a utility knife cuts through easily. Cutting through the top fibers is significantly harder, dulls your blade faster, and produces uneven cuts.
Here’s how to do it:
- Once you’ve pulled back a section of carpet, fold it over so the backing faces up.
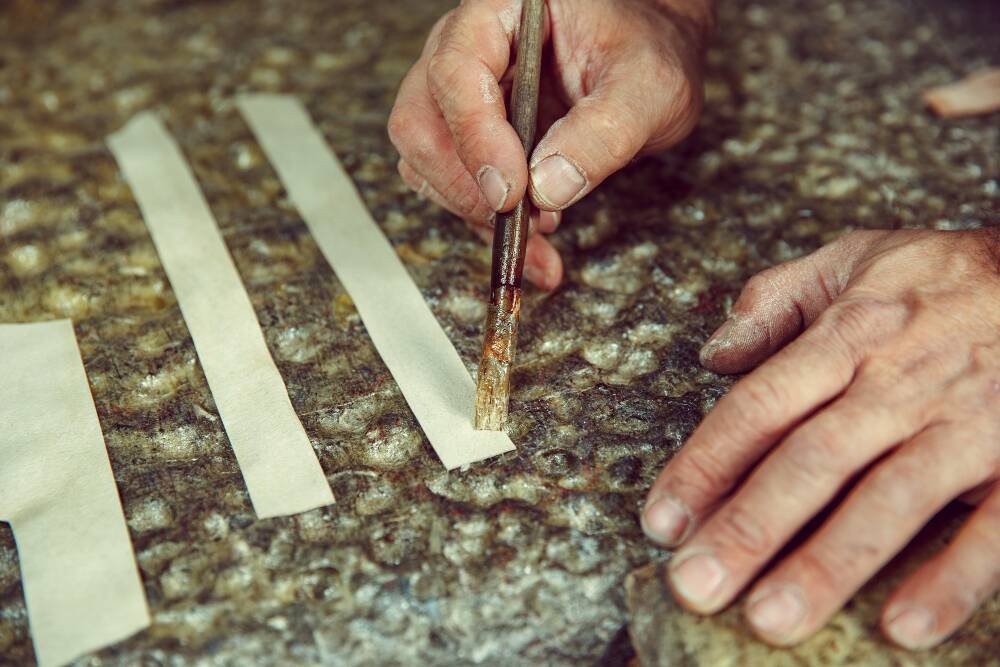
- Using your utility knife, score the backing to cut the carpet into 3- to 4-foot wide strips. Use a straightedge or follow the carpet’s woven grid lines for straight cuts.
- Work your way across the room, cutting along walls and around obstacles like door frames or closets.
- Be careful not to cut too deeply — you don’t want to score or damage the subfloor underneath.
3. Roll and Secure Each Strip
Once a strip is cut free, roll it up tightly. Here’s a clever trick that eliminates the need for heavy trash bags:
The Carpet-Strip Necktie Method:
- Before rolling, cut a small 1.5-inch strip from an unused piece of carpet.
- Roll the carpet strip up tightly.
- Wrap the narrow strip around the roll like a “necktie” and secure it with duct tape.
- This creates a compact, self-contained roll that won’t unravel and is easy to carry and dispose of.
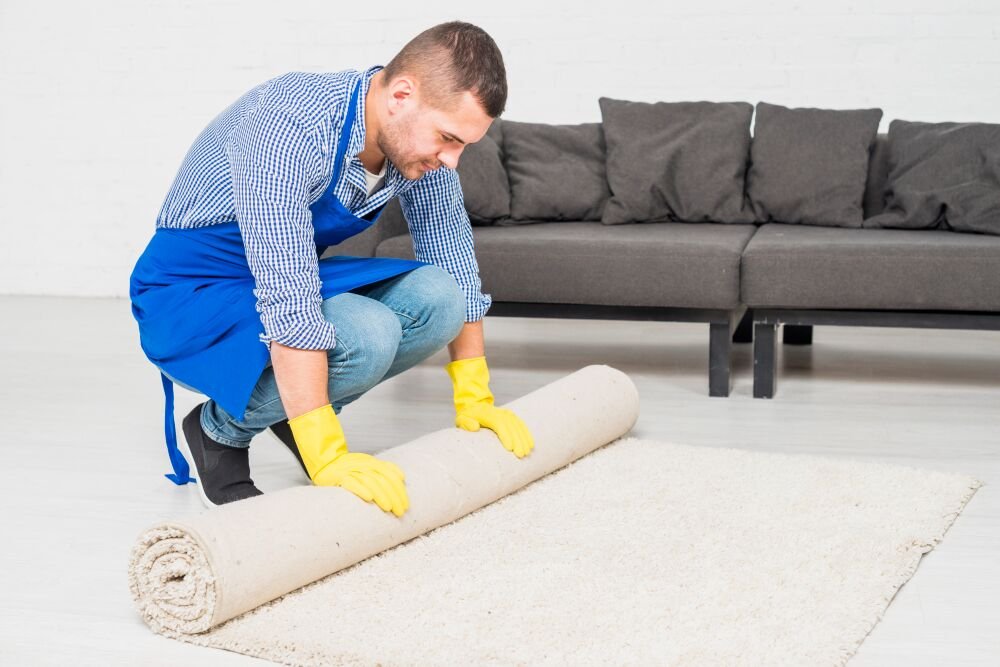
Continue this process — pull, cut, roll, secure — working steadily toward the exit door until all the carpet is removed.
4. Handling Glued-Down Carpet
Not all carpet is stretched over tack strips. In some installations — particularly on stairs, in commercial settings, or in older homes — carpet may be glued directly to the subfloor. This type of removal is more labor-intensive:
- Use a floor scraper to work the carpet free from the adhesive bond.
- Pull up sections slowly — glued carpet tends to tear and leave residue behind.
- After the carpet is removed, use an adhesive remover product to clean remaining glue from the subfloor.
- A wide scraper is particularly helpful for removing stubborn adhesive residue.
Removing the Padding
After the carpet is out of the way, you’ll find the padding underneath. Unlike carpet, padding removal is straightforward — but it has its own quirks.
1. Pull Up the Padding
Carpet padding is typically stapled to the subfloor, not glued. This makes removal relatively simple:
- Find an edge or seam in the padding and grab one end.
- Pull it back — the staples will release from the subfloor as you pull, tearing up large sections at a time.
- If the padding is old and crumbles or tears apart as you pull, that’s normal. Just tear off what you can by hand and collect the pieces.
- If it’s difficult to cut or particularly stubborn, work in smaller sections using your utility knife.
Unlike carpet, you don’t need to cut padding into precise strips — it’s lighter and tears easily enough to handle in larger pieces.
2. Roll and Dispose
Just like the carpet, roll up the padding sections and secure them with duct tape for easy disposal. Padding is significantly lighter than carpet but produces a lot of loose debris, so bagging or taping the rolls is important.
Tackling the Tack Strips
With the carpet and padding gone, you’ll see the tack strips running along the perimeter of the room. These are the narrow wooden strips with rows of sharp, angled nails that grip the carpet backing — and they’re the most hazardous part of this entire project.
1. Understanding Tack Strips
Tack strips are narrow strips of wood (typically about 1 inch wide) with rows of sharp, angled pins or nails that grip the carpet backing. They’re nailed directly into the subfloor and run around the entire perimeter of the room where the carpet meets the walls.
Should you remove or leave them? This depends on your new flooring:
- New carpet installation: If the existing tack strips are in good condition (not cracked, not rusted, nails still sharp) and positioned correctly for the new carpet size, your installer may prefer to leave them in place. Check with your installer first.
- Hardwood, vinyl, laminate, or tile: Tack strips must be removed — they serve no purpose for these flooring types and will create bumps or damage under the new floor.
2. Removing Tack Strips Safely
To remove tack strips, you’ll need a wonder bar or pry bar and a hammer. Here’s the process:
- Slide the flat end of the wonder bar under the tack strip, starting at one end.
- Strike the wonder bar gently with the hammer to work it underneath the strip.
- Lever the strip up with steady pressure — it should pop free from the subfloor nails.
- Work in small sections (a few feet at a time), as the strips may crack or break during removal.
- Be careful not to damage the wall — keep the pry bar angled downward toward the floor, not prying toward the wall.
Important safety tip: As you remove tack strips, place them directly into your taped carpet rolls or into a sturdy container. Never leave them lying flat on the floor where you or someone else could step on them — the exposed nails are extremely dangerous.
3. Disposing of Tack Strips
Tack strips are wood with nails — they are not hazardous waste, but they do require careful handling:
- Collect removed tack strips in a sturdy container or puncture-proof bag to prevent the nails from poking through.
- A good approach is to drop them directly inside your rolled-up carpet — the carpet wrapping contains the nails safely.
- Check with your local waste management authority for specific disposal guidelines, as some areas require construction debris to be separated from regular household waste.
Staple and Nail Removal
This is the step most people underestimate. After the padding is removed, the subfloor will be peppered with hundreds of staples — the small metal staples that held the padding in place. This step requires patience.
Do You Need to Remove Every Staple?
The answer depends on what flooring you’re installing next:
- New carpet: You don’t necessarily need to remove every single staple. Small staples that sit flush with the subfloor generally won’t cause issues under new padding and carpet. However, any staples that are raised, bent, or protruding should be pulled or flattened.
- Hardwood, vinyl, laminate, or tile: Every staple must come out. Even a single raised staple can create a bump, crack a plank, or prevent flooring from sitting flat. There are no shortcuts here.
How to Remove Staples
- Use needle-nose pliers to grip individual staples and pull them straight out.
- A 5-in-1 tool is excellent for scraping along the subfloor to pop up staples in bulk.
- A wide scraper can speed up the process across large areas.
- For deeply embedded or stubborn staples, Knipex pliers (recommended by experienced DIYers) provide superior grip and leverage.
Don’t Forget the Nails
Beyond staples, there may be protruding nails from the tack strip installation or other fasteners. Use your hammer to nail down any protruding nails flush with the subfloor. A raised nail is just as damaging to new flooring as a raised staple.
Preparing the Subfloor
With the old carpet, padding, tack strips, staples, and nails all removed, you’re down to the bare subfloor. This is your foundation for the new flooring — and it needs to be in proper condition before installation begins.
1. Inspecting the Subfloor
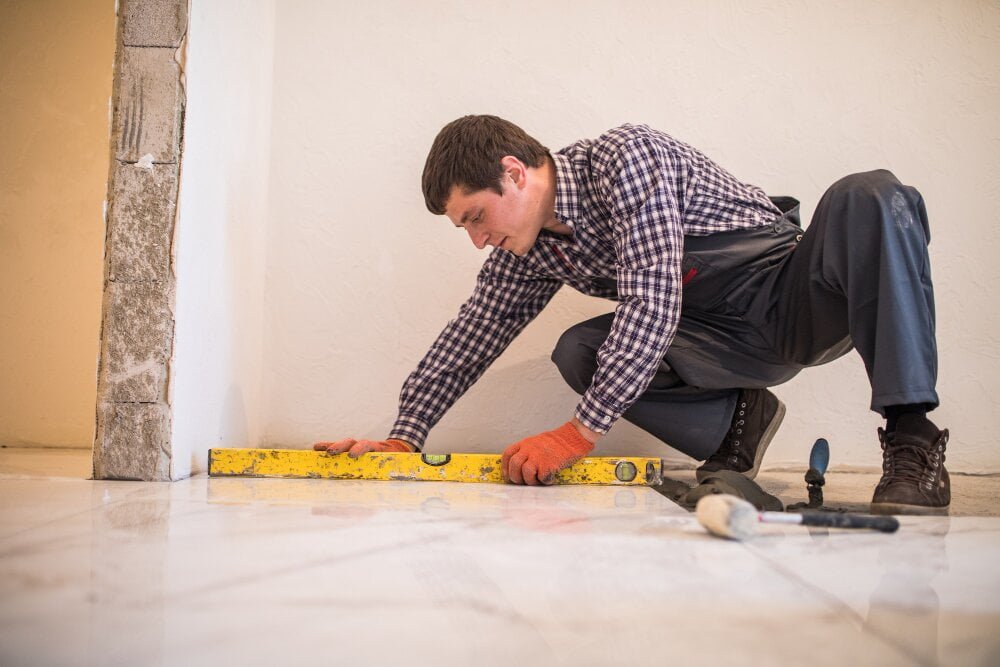
A thorough inspection now prevents costly problems later. Walk the entire room and check for:
- Cracks, holes, or gouges — these need to be filled before any flooring goes down
- Uneven or raised areas — even small height differences can cause the laminate to click improperly or the vinyl to bubble
- Squeaks or loose sections — if the subfloor squeaks when you walk on it, now is the time to secure it with screws
- Signs of moisture or water damage — discoloration, soft spots, warping, or musty smells indicate water issues that must be resolved before covering the subfloor
- Mold or mildew — if you find any, address the moisture source first and treat the mold before proceeding
2. Checking for Asbestos (Pre-1980s Homes)
If your home was built before the 1980s, there is a possibility that carpet adhesives, padding, or the subfloor material may contain asbestos. This is a serious health concern that should not be ignored.
- Before sanding, scraping, or disturbing any material on the subfloor, consider professional testing if you suspect asbestos may be present.
- Asbestos-containing materials are not dangerous if left undisturbed, but sanding, grinding, or tearing them up releases harmful fibers into the air.
- If asbestos is confirmed, hire a licensed asbestos abatement professional — this is not a DIY job.
This step is often overlooked in carpet removal guides, but it’s one of the most important safety considerations for older homes.
3. Repairing the Subfloor
If you discover any damage during your inspection, address it before moving forward:
- Filling holes and cracks: Use a floor patching compound or wood filler designed for subfloor repair. Apply with a putty knife, smooth it level, and let it dry completely.
- Sanding uneven areas: Use a floor sander or belt sander to bring down high spots and create a uniformly flat surface.
- Fixing squeaks: Drive deck screws through the subfloor into the floor joists below to eliminate movement and noise.
- Replacing damaged sections: For severely water-damaged or rotted areas, cut out the damaged section and replace it with new plywood or OSB underlayment of matching thickness.
For significant structural damage or widespread moisture problems, consult a professional contractor before proceeding with new flooring installation.
4. Cleaning the Subfloor
The final preparation step is a thorough cleaning. A clean subfloor ensures proper adhesion for glue-down installations and prevents debris from causing bumps under floating floors.
- Sweep the entire surface to remove large debris and dust.
- Use a shop vacuum to pick up loose staples, nails, dust, and fine debris that sweeping misses. A regular household vacuum is not suitable — construction debris can damage it.
- Damp mop or wipe down the subfloor to remove remaining dust and residue.
- Allow the subfloor to dry completely before installing any new flooring. Moisture trapped under new flooring can cause warping, mold, or adhesive failure.
5. Check with Your Installer
If you’re having your new flooring professionally installed, check with the installer for specific preparation requirements. Some installers require:
- A particular subfloor moisture level (measured with a moisture meter)
- Specific underlayment to be laid before their arrival
- The room is to be cleared to a certain distance beyond the installation area
Clarifying these requirements in advance prevents delays on installation day.
Conclusion
Removing old carpet and preparing for new flooring is a satisfying DIY project when approached with the right tools, techniques, and planning. To recap the key points:
- Plan disposal before you start — an average room produces several hundred pounds of waste
- Score carpet from the backing, not the top fibers — it’s significantly easier and produces cleaner cuts
- Work from the far corner toward the exit door — you’ll avoid walking over exposed tack strips
- Remove every staple and nail for non-carpet flooring installations
- Test for asbestos in pre-1980s homes before disturbing subfloor materials
- Inspect, repair, and clean the subfloor thoroughly — it’s the foundation everything else sits on
With a clean, properly prepared subfloor, you’re set up for a flawless new flooring installation. Take your time with each step, prioritize safety, and enjoy the transformation.