Keeping deep clean oven should be a top priority in any kitchen. A build-up of grease, food debris, and grime not only looks unsightly but can also reduce the efficiency and lifespan of your oven. The good news is that deep cleaning your oven periodically doesn’t have to be a daunting chore. With the right supplies and a systematic approach, you can have your oven looking brand new in no time.
In this article, we’ll walk through the process of deep cleaning your oven in just 5 simple steps. Properly deep cleaning your oven will leave every nook and cranny fresh, removing layers of baked-on grease and burnt food residue. Your oven will run more efficiently, distribute heat more evenly, and you’ll minimize the risk of smoke or fire from food remnants collecting inside the oven over time. Let’s get started on the path toward oven cleanliness!
Deep Clean Oven

Before we dive into the cleaning process, let’s briefly go over why deep cleaning your oven is so important. Over time, food debris and grease will naturally build up in any oven with regular use. This build-up occurs not only on the bottom surface and walls of your oven, but also on the heating elements and hard-to-reach nooks and crannies. Keeping up with routine light cleaning can help, but it likely won’t fully remove some of the tougher grease stains and burnt bits that accumulate in an oven over the years.
That’s where deep oven cleaning comes in: by thoroughly scrubbing all the interior oven surfaces, you can remove layers of cooked-on build-up. This will help your oven operate more efficiently by allowing better heat conductivity and distribution. The heating elements will also remain free of debris so they don’t have to work as hard every time you use the oven. Additionally, removing all food remnants and grease will reduce the risk of flare-ups, smoke, and potentially even oven fires.
Overall, setting aside time periodically to deeply clean your oven is hugely beneficial. The process may take a bit more time and elbow grease compared to quick wipe-downs, but you’ll reap the rewards of a like-new oven that runs safely and efficiently.
Step 1: Gather Your Supplies
The first step in any good deep clean is making sure you have the right tools and products at your disposal. Here’s a look at some key items to have on hand before tackling the inside of a dirty oven:
- Protective gloves – It’s essential to protect your hands from harsh oven cleaners. Opt for rubber gloves that cover your forearms too.
- Oven cleaner – You’ll need a powerful commercial oven cleaner or can make your own natural cleaning solution. For heavy build-up, a store-bought cleaner containing lye or sodium hydroxide often works best.
- Scrubbing tools – Have an abrasive scrub pad or brush on hand to really work cleaning solutions into stubborn stains. Choose scrubbers that are safe for your oven surface.
- Baking soda – This pantry staple works as a natural cleaner and deodorizer for ovens. Make a paste with water to scour your oven.
- Vinegar – Help cut grease and neutralize odors by using plain white vinegar to wipe down interior oven surfaces.
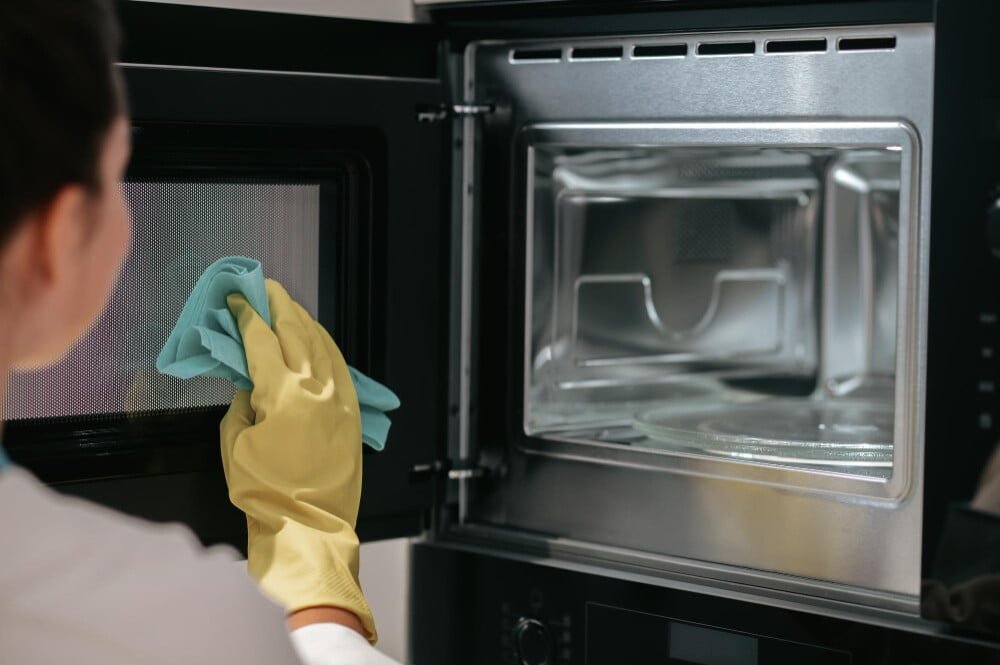
- Microfiber cloths – Have a stash of clean cloths to wipe away grime and cleaning product residue after scrubbing.
- Protective mats or foil – Cover areas like drip pans or the stovetop to protect from cleaning solution drips.
Ensuring you use cleaning products designed specifically for oven use is crucial, as they are formulated to cut through baked-on grease without damaging oven surfaces. Now that you’ve got the right oven cleaning tools, let’s get to work!
Step 2: Prepare the Oven
Before applying any cleaning products to your oven, you need to prep the area properly. Here are the key tasks involved in getting your oven ready for deep cleaning:
- Remove racks – Take out all oven racks so you can access the full oven interior. Place racks in the sink or tub to clean separately later.
- Clear out loose debris – Use a rubber spatula to scrape off any large leftover food bits or pieces of foil/paper from the oven.
- Vacuum the oven – Use a handheld vacuum to suck up all crumbs and dust from the corners and crevices of the cold oven.
- Let oven cool completely – Only attempt cleaning when the oven is at room temperature. Heat can react with cleaning products and many oven surfaces are sensitive to temperature changes.
- Ventilate the area – Open windows or turn on fans/vents to allow good airflow. Oven cleaners often produce powerful fumes.
- Don protective gear – Put on your long gloves, eye protection if needed, and cover your clothes, floors, and nearby surfaces.
Prep work is a key first step with oven deep cleaning. Be sure to remove everything from inside the oven cavity and let it cool fully to enable safe and effective cleaning.
Step 3: Apply the Cleaning Solution
Now for the scrubbing! With your oven empty and ready to go, it’s time to apply a cleaning solution designed to cut through layers of baked-on grime:
- Read product directions – Follow all instructions provided with commercial cleaners for proper use, ventilation needs, and application tips.
- Focus on problem areas – Apply more product to greasy areas like the oven window, walls behind the range, and around heating elements.
- Soak burnt spots – Use a brush or spray nozzle to really concentrate cleaner on burnt-on stains to help loosen them up.
- Get in cracks and crevices – Use cotton swabs or a small brush to work cleaner into all nooks and crannies.
- Let sit – Allow cleaning products to soak for the recommended time before scrubbing. This allows them time to penetrate and dissolve gunk.
When using commercial oven cleaners, be sure to follow all safety precautions as many contain caustic ingredients like lye that can irritate skin and eyes. For a more natural option, make a paste of baking soda and water and apply by brushing onto oven surfaces and letting sit for 15-20 minutes before scrubbing.
Step 4: Clean the Racks
While the oven interior soaks, shift your focus to thoroughly cleaning the oven racks. These often have a coating of baked-on food residue that requires special attention. Here are some tips:
- Soak in solution – Place racks in a heavy-duty garbage bag and cover with an oven cleaner. Seal and let soak overnight.
- Use baking soda – Make racks look like new by scrubbing with baking soda and water. For especially grimy racks, boil in a solution of 1 cup of baking soda per 1 gallon of water for 15 minutes.
- Try steel wool – For racks with just surface grime, gently scrub using super fine 000 steel wool and hot, soapy water. Rinse and dry well.
- Use vinegar – Remove discoloration and brighten chrome racks by boiling racks in equal parts vinegar and water for 15 minutes. Rinse and dry thoroughly.
Putting in the work to deep clean oven racks makes a huge difference in revitalizing your oven’s overall appearance. Over time, racks can become coated in a layer of grime that routine wiping just won’t conquer.
Step 5: Final Touches and Reassembly
With the interior oven surfaces and racks scrubbed to shining, there are just a few final steps to complete your oven deep clean:
- Wipe down surfaces – Use clean microfiber cloths to remove all cleaner residue and grime from interior oven surfaces. Give metal or glass extra polish with a dry cloth.
- Clean exterior – Wipe down the outside of the oven door, handle, control panel, and any stainless steel using an all-purpose cleaner and dry thoroughly.
- Clean drip pans – Remove and wash any removable drip pans from the bottom of the oven by hand or in the dishwasher.
- Replace racks – Return oven racks to their positions once fully dry and free of cleaning residue.
- Tackle oven window – Clean both sides of the oven glass using glass cleaner and lint-free cloths. Give it an extra buff for streak-free shine.
- Inspect seals – Wipe down rubber oven door seals and make sure they appear intact. Cracked or gaps in seals can impact oven performance.
Taking these finishing steps ensures that every surface of your oven looks refreshed. Once reassembled, you can enjoy a like-new oven ready for many more years of efficient cooking and baking!
Maintenance Tips

Deep cleaning your oven periodically (every 3-6 months) is the best way to keep it looking and performing its best. But you can make that major scrub-down less frequent and labor-intensive by doing consistent light maintenance:
- Clean up spills promptly – Don’t let food spills or grease build up. As soon as your oven cools after use, wipe up any visible messes.
- Use liners – Prevent drips and spills from sticking by placing aluminum foil or a silicone mat on the bottom oven rack before cooking messy dishes. Switch out liners as needed.
- Remove racks – Take oven racks out periodically to clean both sides in the sink using hot water and scrubbing. This prevents build-up.
- Spot clean the window – Use glass cleaner and a lint-free cloth to keep oven windows clean of greasy fingerprints and food spatters.
- Check seals – Wipe around the oven door seal frequently to prevent food debris from accumulating in the crevice.
- Ventilate regularly – Run the vent fan or open a window when cooking to prevent smoke and grease from saturating the oven interior.
- Replace accessories – If drip pans become worn or stained over time, replace them with new pans to maintain a tidy oven.
- Touch up paint – Use oven-safe paint to quickly touch up any scratches or chips in the oven cavity paint to prevent corrosion.
By regularly tidying up your oven in these small ways, you’ll make the major deep cleaning sessions quicker, easier, and less frequent. A little maintenance goes a long way for an oven that looks consistently clean.
Conclusion
While deep cleaning an oven is a more involved process than a quick wipe-down, it is absolutely worth the effort. By dedicating time to thoroughly scour all the interior oven surfaces and racks, you can remove accumulated grease and debris that routine cleaning simply cannot tackle.
The result will be a bright and like-new oven ready for service. Follow the key steps outlined here – gathering supplies, prepping the oven, applying cleaner, scrubbing racks, and finish touches – and you can deeply clean an oven in as little as one hour. A freshly deep-cleaned oven will run more efficiently, heat more evenly, and minimize any risks associated with built-up grime.
Make oven deep cleaning a regular part of your kitchen care routine for an appliance that works effectively for years to come. Once you see just how filthy an oven can get, you’ll gain satisfaction knowing all that built-up gunk is history! Tackle tough stains promptly and maintain cleaning between sessions for an oven that is always ready to cook up delicious meals.


