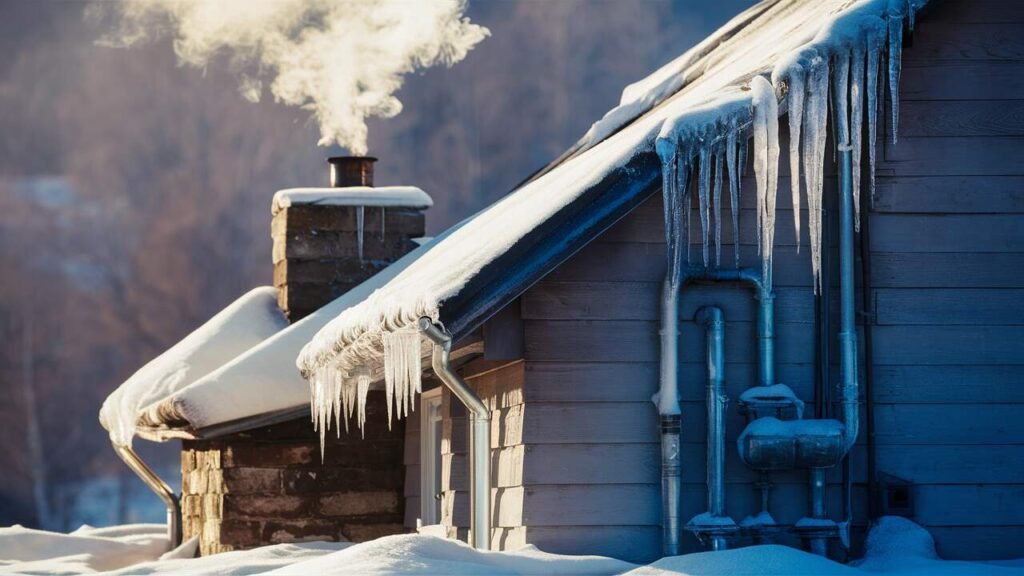
So, when water enters your home, the last thing you want is for those pesky pipes freeze and burst. It’s a total headache and can lead to a massive repair job if pipes freeze. But hey, did you know there are ways to prevent frozen water pipes.
Why Do Pipes Freeze and How Can You Prevent It?
Frozen water pipes can be a frustrating and costly problem for homeowners, especially during the colder months. Understanding the science behind pipe freezing is the first step in preventing this issue. When the temperature drops, the water inside your pipes can freeze, causing the pipe to expand and potentially burst. Proper insulation and strategic use of heat sources are key to keeping your pipes from freezing.
Understanding the Science Behind Frozen Pipes
Water pipes are most vulnerable to freezing when exposed to freezing temperatures, such as in unheated areas of your home like the attic, basement, or crawl space. As the temperature drops, the water inside the pipes starts to freeze, and the ice formation causes the pipe to expand. This expansion can lead to cracks or even a burst pipe, resulting in costly water damage.
Insulation Techniques to Prevent Pipes from Freezing
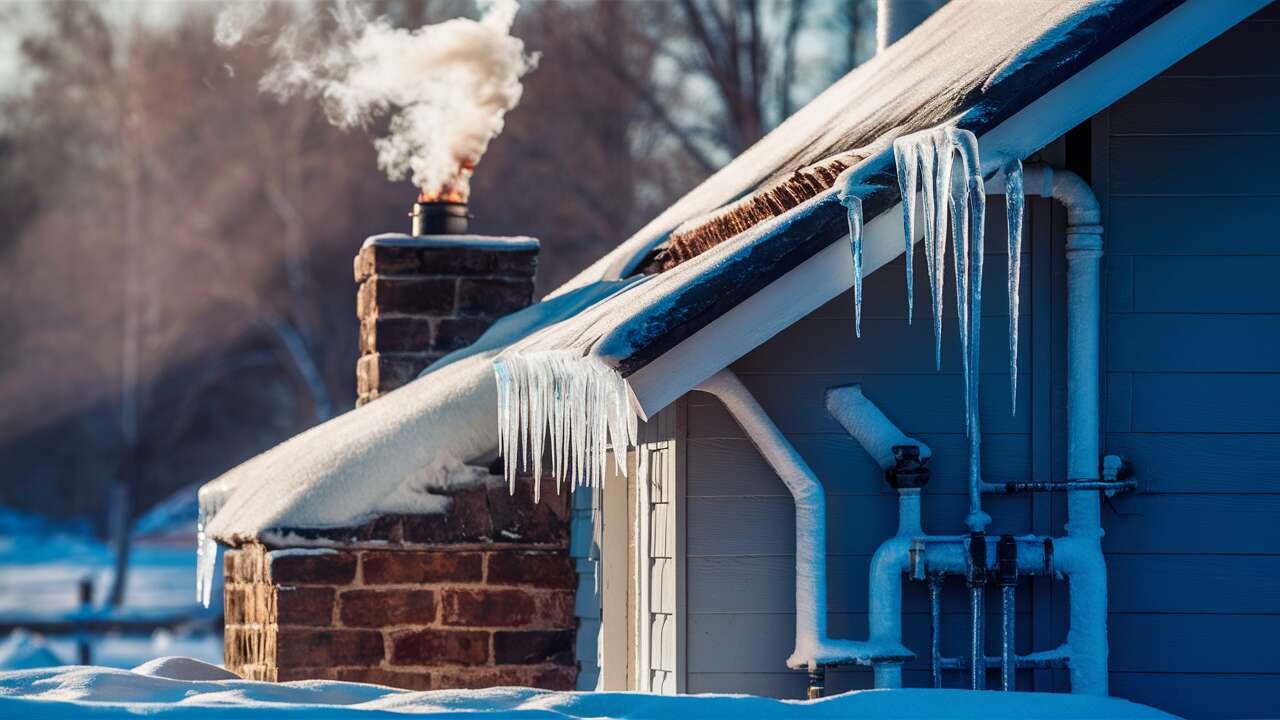
One of the best ways to prevent your pipes from freezing is to ensure they are properly insulated. Wrap exposed pipes with insulation sleeves or heat tape, focusing on areas that are most vulnerable to cold, such as the kitchen and bathroom. Insulating the attic, basement, and crawl space can also help maintain higher temperatures and help prevent the pipes in those areas from freezing.
Strategic Use of Heat Tape and Space Heaters
In addition to insulation, heat tape and space heaters can be used to provide supplemental heat to pipes at risk of freezing. Heat tape wraps around the pipe and uses electricity to generate heat, while space heaters can be placed near exposed pipes to keep them warm. Be sure to use these heat sources safely and according to the manufacturer’s instructions to avoid fire hazards.
Finding the Culprit: How to Locate Frozen Water Pipes in Your Home
Alright, so if your pipes may freeze, first off, don’t panic. When you can’t get water to flow and suspect there’s ice blockage, start where the pipe enters the house. This is usually where it gets super cold.
Now, if you’ve got water sprinkler lines, check those too because they’re often forgotten and can lead to discovering additional frozen pipes. The moment the water starts flowing again, you know you’ve hit the jackpot. And, a little warmth can help melt ice, just be gentle to avoid any pipe damage.
Identifying the location of frozen pipes is the first step in thawing them, which can be a challenging task. Look for signs of freezing, such as reduced water flow or no water coming from the faucet served by exposed pipes.
Identifying Signs of Frozen Water Pipes
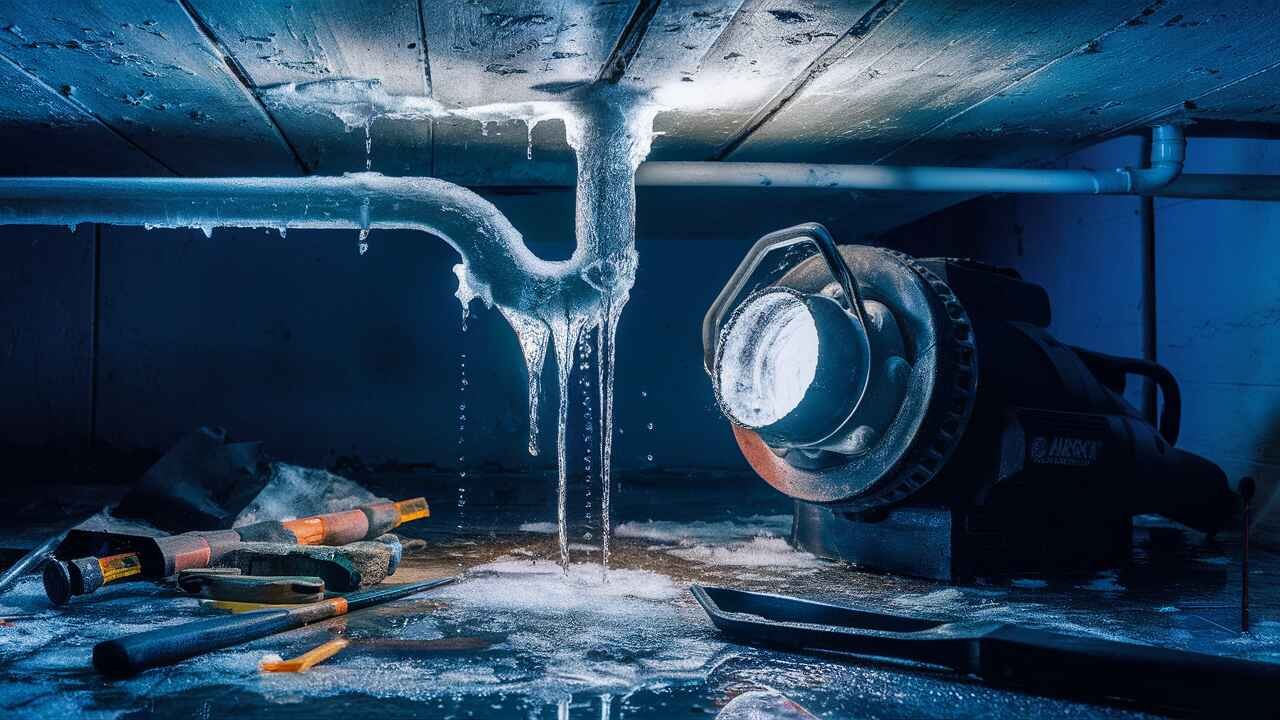
If you turn on a faucet and only a trickle of water comes out, or no water at all, it may be a sign that the pipes are frozen. Another indicator is if the water pressure seems lower than normal throughout your home. You may also notice frost or ice buildup on the exterior of the pipes, which can help you locate the frozen section.
Using Your Senses to Locate the Frozen Section
Feel along the pipes with your hands to try to locate the frozen area. The frozen section will likely feel colder than the rest of the pipe. You can also try tapping the pipes with a metal object, such as a screwdriver, and listening for changes in the sound, which can indicate the frozen area.
The Role of Water Pressure in Detecting Freezes
Observing changes in water pressure can also help you locate frozen pipes. If the water pressure is reduced or nonexistent in a specific area of your home, that’s a good indication that the pipes in that area are frozen. This can be a helpful clue in narrowing down the location of the frozen section.
The Safe Thaw: Best Practices to Thaw Frozen Water Pipes
When winter hits hard, don’t let your pipes freeze and burst—that’s just begging for a costly repair job. Instead, heed some sage advice from the American Red Cross to prevent turning your home into an indoor sprinkler system. First off, insulate water pipes in chilly spots. This insulation will maintain higher temperatures and provide protection to exposed pipes, drastically reducing the chances they’ll go all iceberg on you.
Find yourself with a solid block of ice in your pipes anyway? Start by turning off the water at the main and leave the heat on. Yep, you might wince at the thought of a higher heating bill, but trust me, it beats flooding. Aim your space heater or hair dryer (no harmful cleaners and household chemicals, please) toward the frozen area of the section of pipe, and keep the thermostat set to the same temperature day and night. And remember, let the cold water drip from faucets in your home; it might sound wasteful, but running water through the pipe can prevent a much more costly repair job if pipes were to burst.
Forget about turning your place into a makeshift water sprinkler, and instead, focus on prevention. Giving a little love to your pipes now can save you heaps down the road. So, beat back the freeze and keep things flowing smoothly, all while dodging that heart-stopping moment when you realize your budget’s about to be sunk by a frozen pipe.
Once you’ve identified the frozen pipes, it’s time to thaw them safely. Using the wrong method can lead to burst pipes and further damage, so it’s essential to follow the proper steps.
Step-by-Step Guide to Thawing Pipes with a Hair Dryer
One of the safest and most effective ways to thaw a pipe is with a hair dryer. Start by directing the hot air toward the frozen section of the pipe, moving the dryer back and forth along the length of the pipe. Continue to apply heat until full water pressure is restored. Be sure to keep the hair dryer moving to avoid damaging the pipe.
When to Use a Space Heater vs. Heat Tape
If a hair dryer isn’t powerful enough, you can use a space heater or heat tape to help melt the ice in the pipe. Space heaters are a good option for larger, exposed pipes, while heat tape is better suited for smaller, more confined areas. Be cautious when using these heat sources and follow all safety guidelines.
Preventing Damage: Thawing without Bursting Your Pipes
The key to thawing frozen pipes safely is to do it slowly and gradually. Applying too much heat too quickly can cause the pipe to burst, leading to even more problems. Take your time and monitor the pipe closely to ensure the thawing process is controlled and the pipe isn’t becoming damaged.
What to Do If Your Pipes Have Already Frozen?
If you discover that your pipes have already frozen, it’s important to act quickly to prevent further damage. Leaving frozen pipes unattended can lead to burst pipes and costly water damage.
Immediate Actions to Prevent Damage
If you suspect your pipes are frozen, turn on the faucet served by the exposed pipes. This will allow you to monitor the thawing process and ensure the water is flowing properly once the ice has melted. If the pipes have already burst, immediately turn off the main water valve to stop the flow of water and prevent further damage.
How to Safely Thaw and Minimize Water Damage
Once the main water valve is shut off, you can begin the thawing process. Use the same techniques as mentioned earlier, such as a hair dryer or space heater, to slowly thaw the pipe. Be vigilant for any signs of leaks or cracks, and be prepared to shut off the water again if necessary.
When It’s Time to Call a Plumber
If you’re unable to locate the frozen area or the thawing process is proving difficult, it may be time to call a plumber for help. A professional plumber has the tools and expertise to safely thaw the pipe and address any potential damage. Attempting to thaw a pipe on your own can be risky and lead to further problems if not done correctly.
Long-Term Solutions to Prevent Frozen Pipes in Your Home
While dealing with frozen pipes can be a frustrating experience, there are long-term solutions to help prevent this problem in the future. Investing in proper insulation and maintaining your home’s heating system can go a long way in protecting your pipes from the cold.
Addressing Insulation: From Crawl Spaces to Exterior Walls
Ensure that all exposed pipes, especially in the attic, basement, and crawl space, are properly insulated. This includes adding insulation to the walls, floors, and ceilings in these areas to maintain higher temperatures and help prevent the pipes from freezing. Don’t forget to insulate hot and cold water pipes, as both can be vulnerable to freezing.
Maintaining an Optimal Thermostat Setting
Keep your thermostat set to a temperature that will maintain higher temperatures throughout your home, even in unoccupied areas. This can help prevent the pipes in these areas from freezing, even during the coldest winter days. Be sure to set the thermostat to the same temperature if you’ll be away during cold weather, as a lower temperature can increase the risk of frozen pipes.
The Importance of Regular Maintenance and Inspection
Regular maintenance and inspection of your home’s plumbing system can also help prevent frozen pipes. Ensure that your water pipes are properly insulated and that your heating system is functioning correctly. Address any issues, such as drafts or cracks, that could allow cold air to enter and cause pipes to freeze**.
Quick Fixes When You’re in a Bind
Sometimes, frozen pipes can catch you by surprise, and you need a quick solution to prevent further damage. These simple tips can help you address the problem until you can implement a more permanent solution.
Turning on the Faucet: How a Trickle of Water Can Prevent Freezing
If you suspect a pipe is about to freeze, turn on the faucet and let the water drip. This small trickle of running water can help prevent the pipe from freezing and potentially bursting. The constant movement of the water makes it more difficult for the pipe to freeze.
Emergency Measures: Shutting Off the Water
If a pipe has already frozen, the first step is to shut off the main water valve. This will prevent any water from flowing through the frozen pipe and potentially causing a burst. Once the water is turned off, you can focus on safely thawing the pipe without the risk of water damage.
Utilizing Cabinet Doors to Allow Heat to Circulate
For pipes located in cabinets, such as under the kitchen or bathroom sink, leave the cabinet doors open. This allows the warm air from the rest of the home to circulate around the pipes, helping to prevent them from freezing. This simple step can make a big difference in maintaining the temperature around vulnerable pipes.
People Also Ask
What to do when water pipes are frozen?
If you have frozen water pipes, the first step is to turn off the main water valve to prevent any water from flowing through the frozen section. Then, locate the frozen area and begin the thawing process using a hair dryer, space heater, or heat tape. Monitor the pipe closely to ensure the thawing is gradual and controlled.
Will frozen pipes unfreeze on their own?
Frozen pipes will not unfreeze on their own, as the ice formation within the pipe prevents the water from flowing. You’ll need to actively thaw the pipe using heat sources to melt the ice and restore water flow.
Should you turn off water if pipes are frozen?
Yes, if you have frozen pipes, you should immediately turn off the main water valve. This will stop any water from flowing through the frozen section and prevent the pipe from bursting, which can lead to costly water damage.
How long does it take for pipes to unfreeze?
The time it takes to unfreeze a pipe can vary depending on the extent of the freeze and the methods used. Using a hair dryer or space heater, it can take 30 minutes to an hour or more to fully thaw a pipe, depending on the size and location of the frozen section.


